Our Basement Renovation Reveal
 ALL SOURCES AT THE END OF THE BLOG POST…
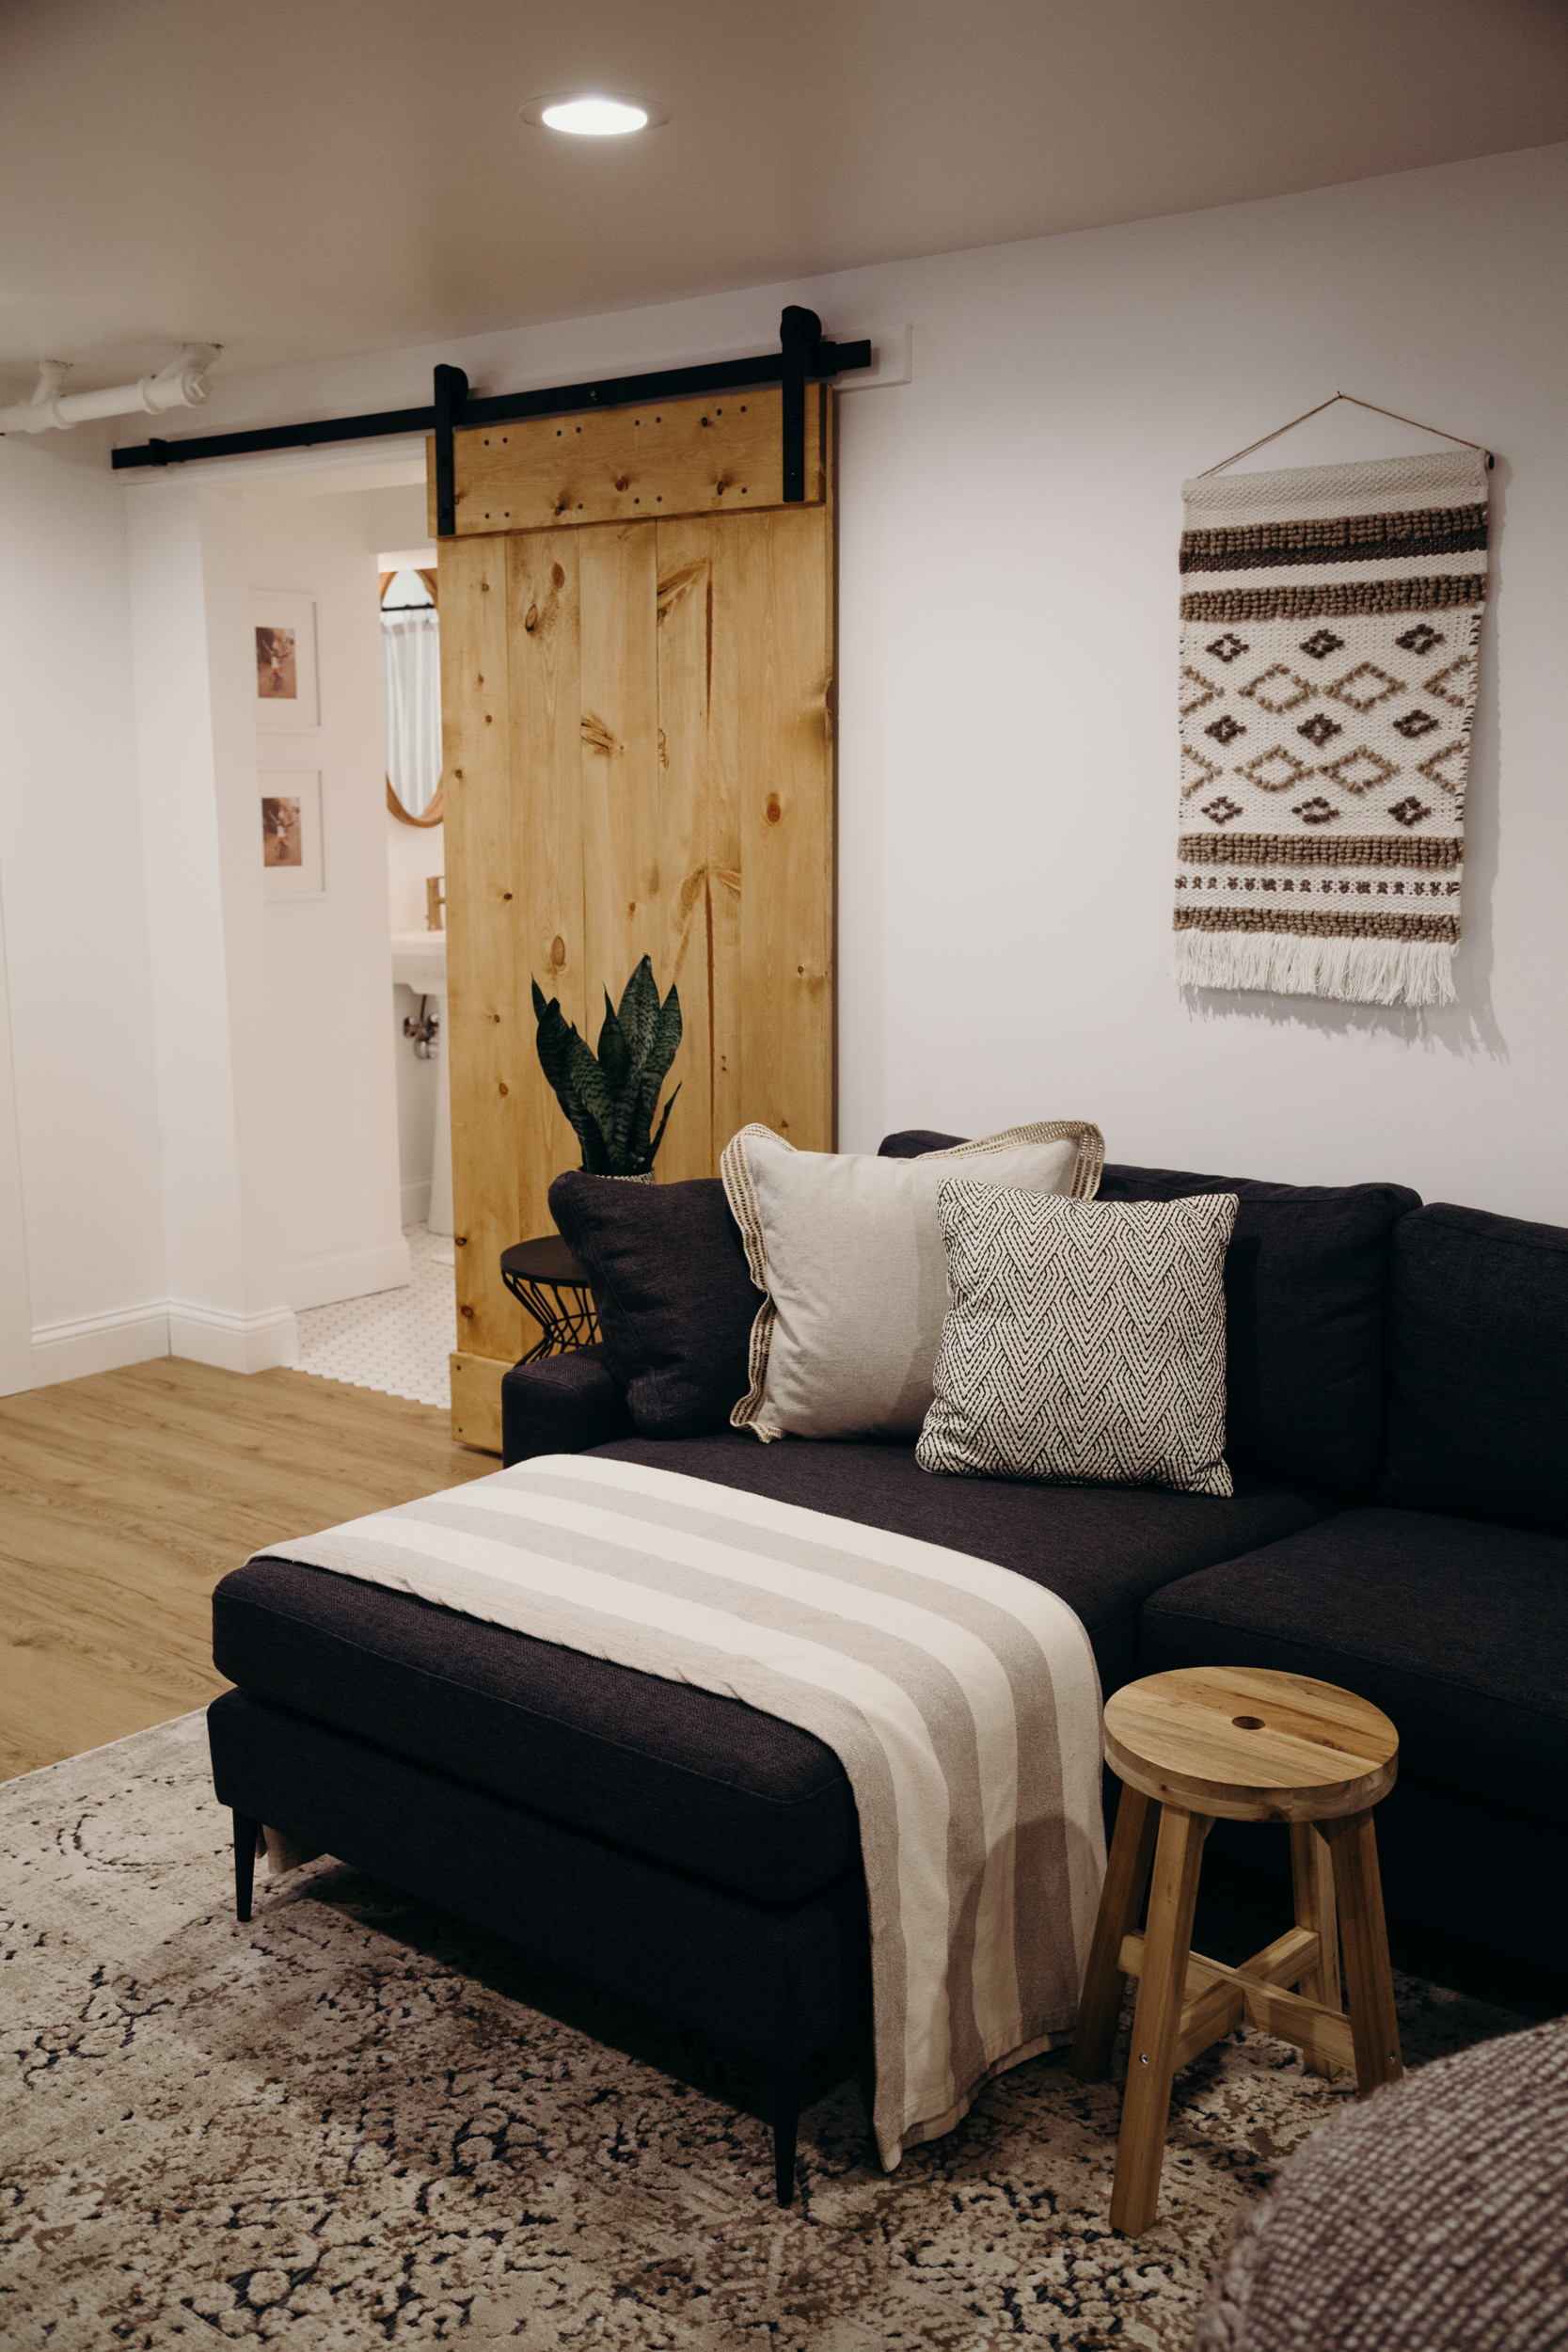
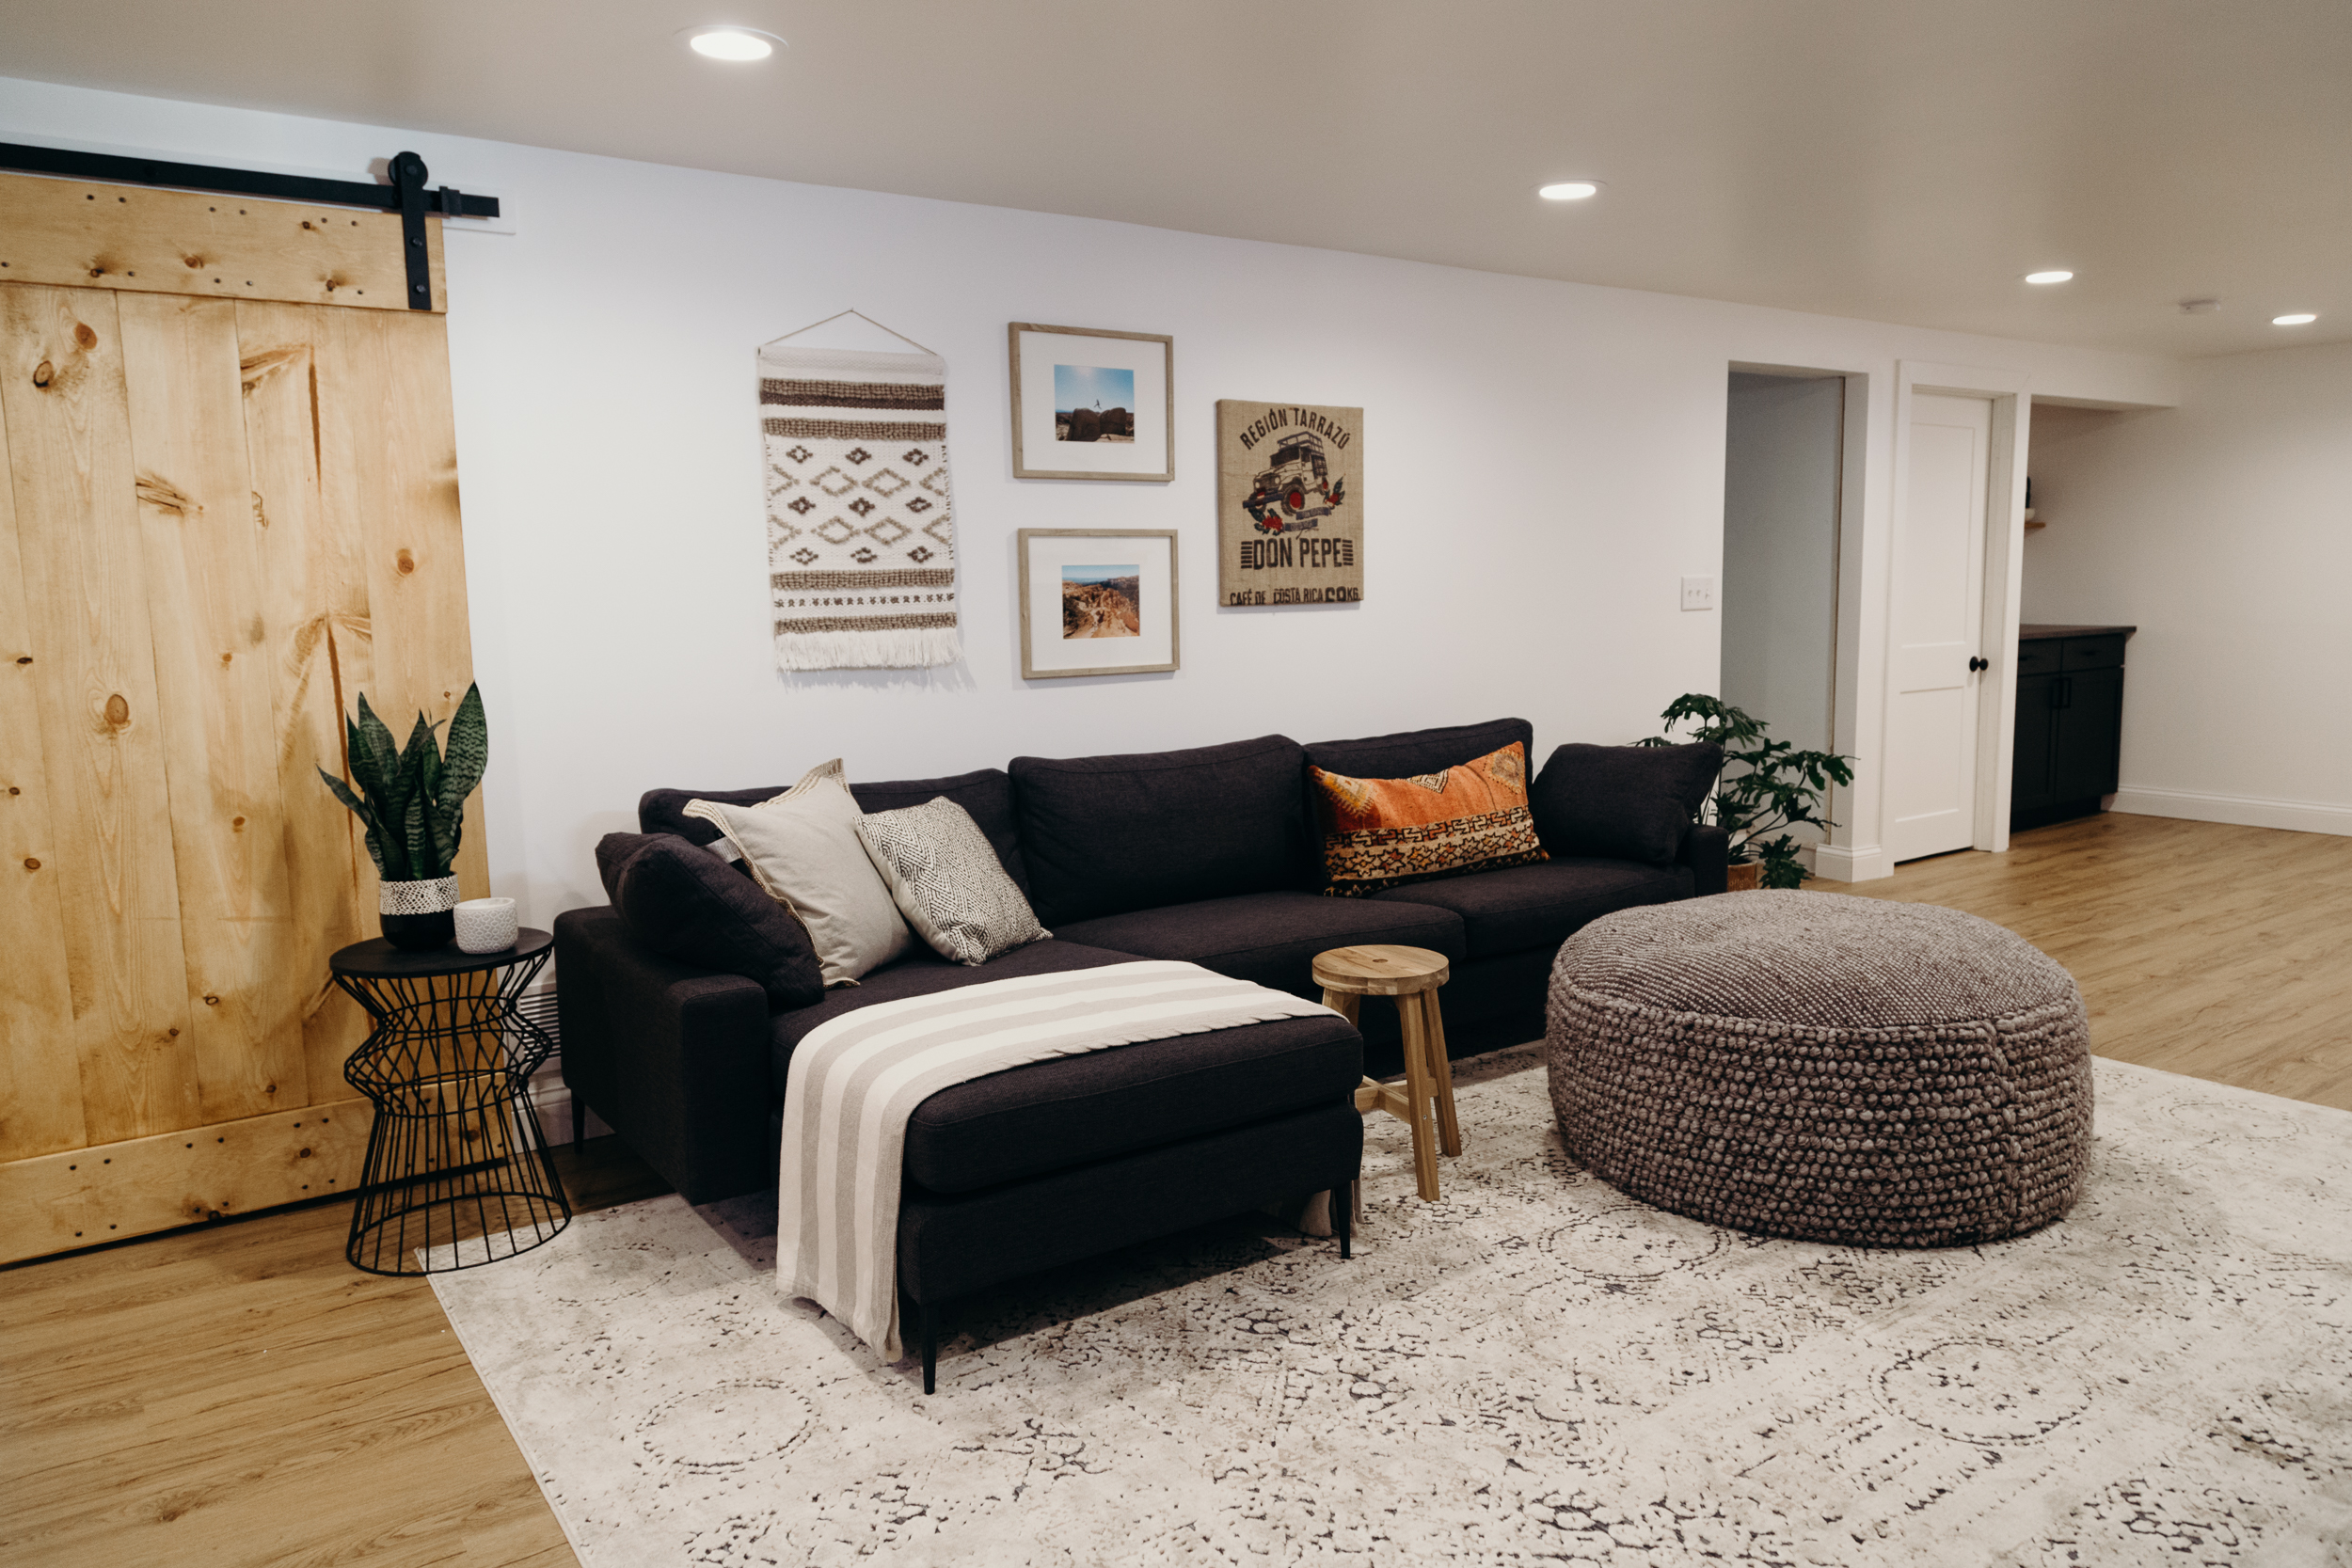
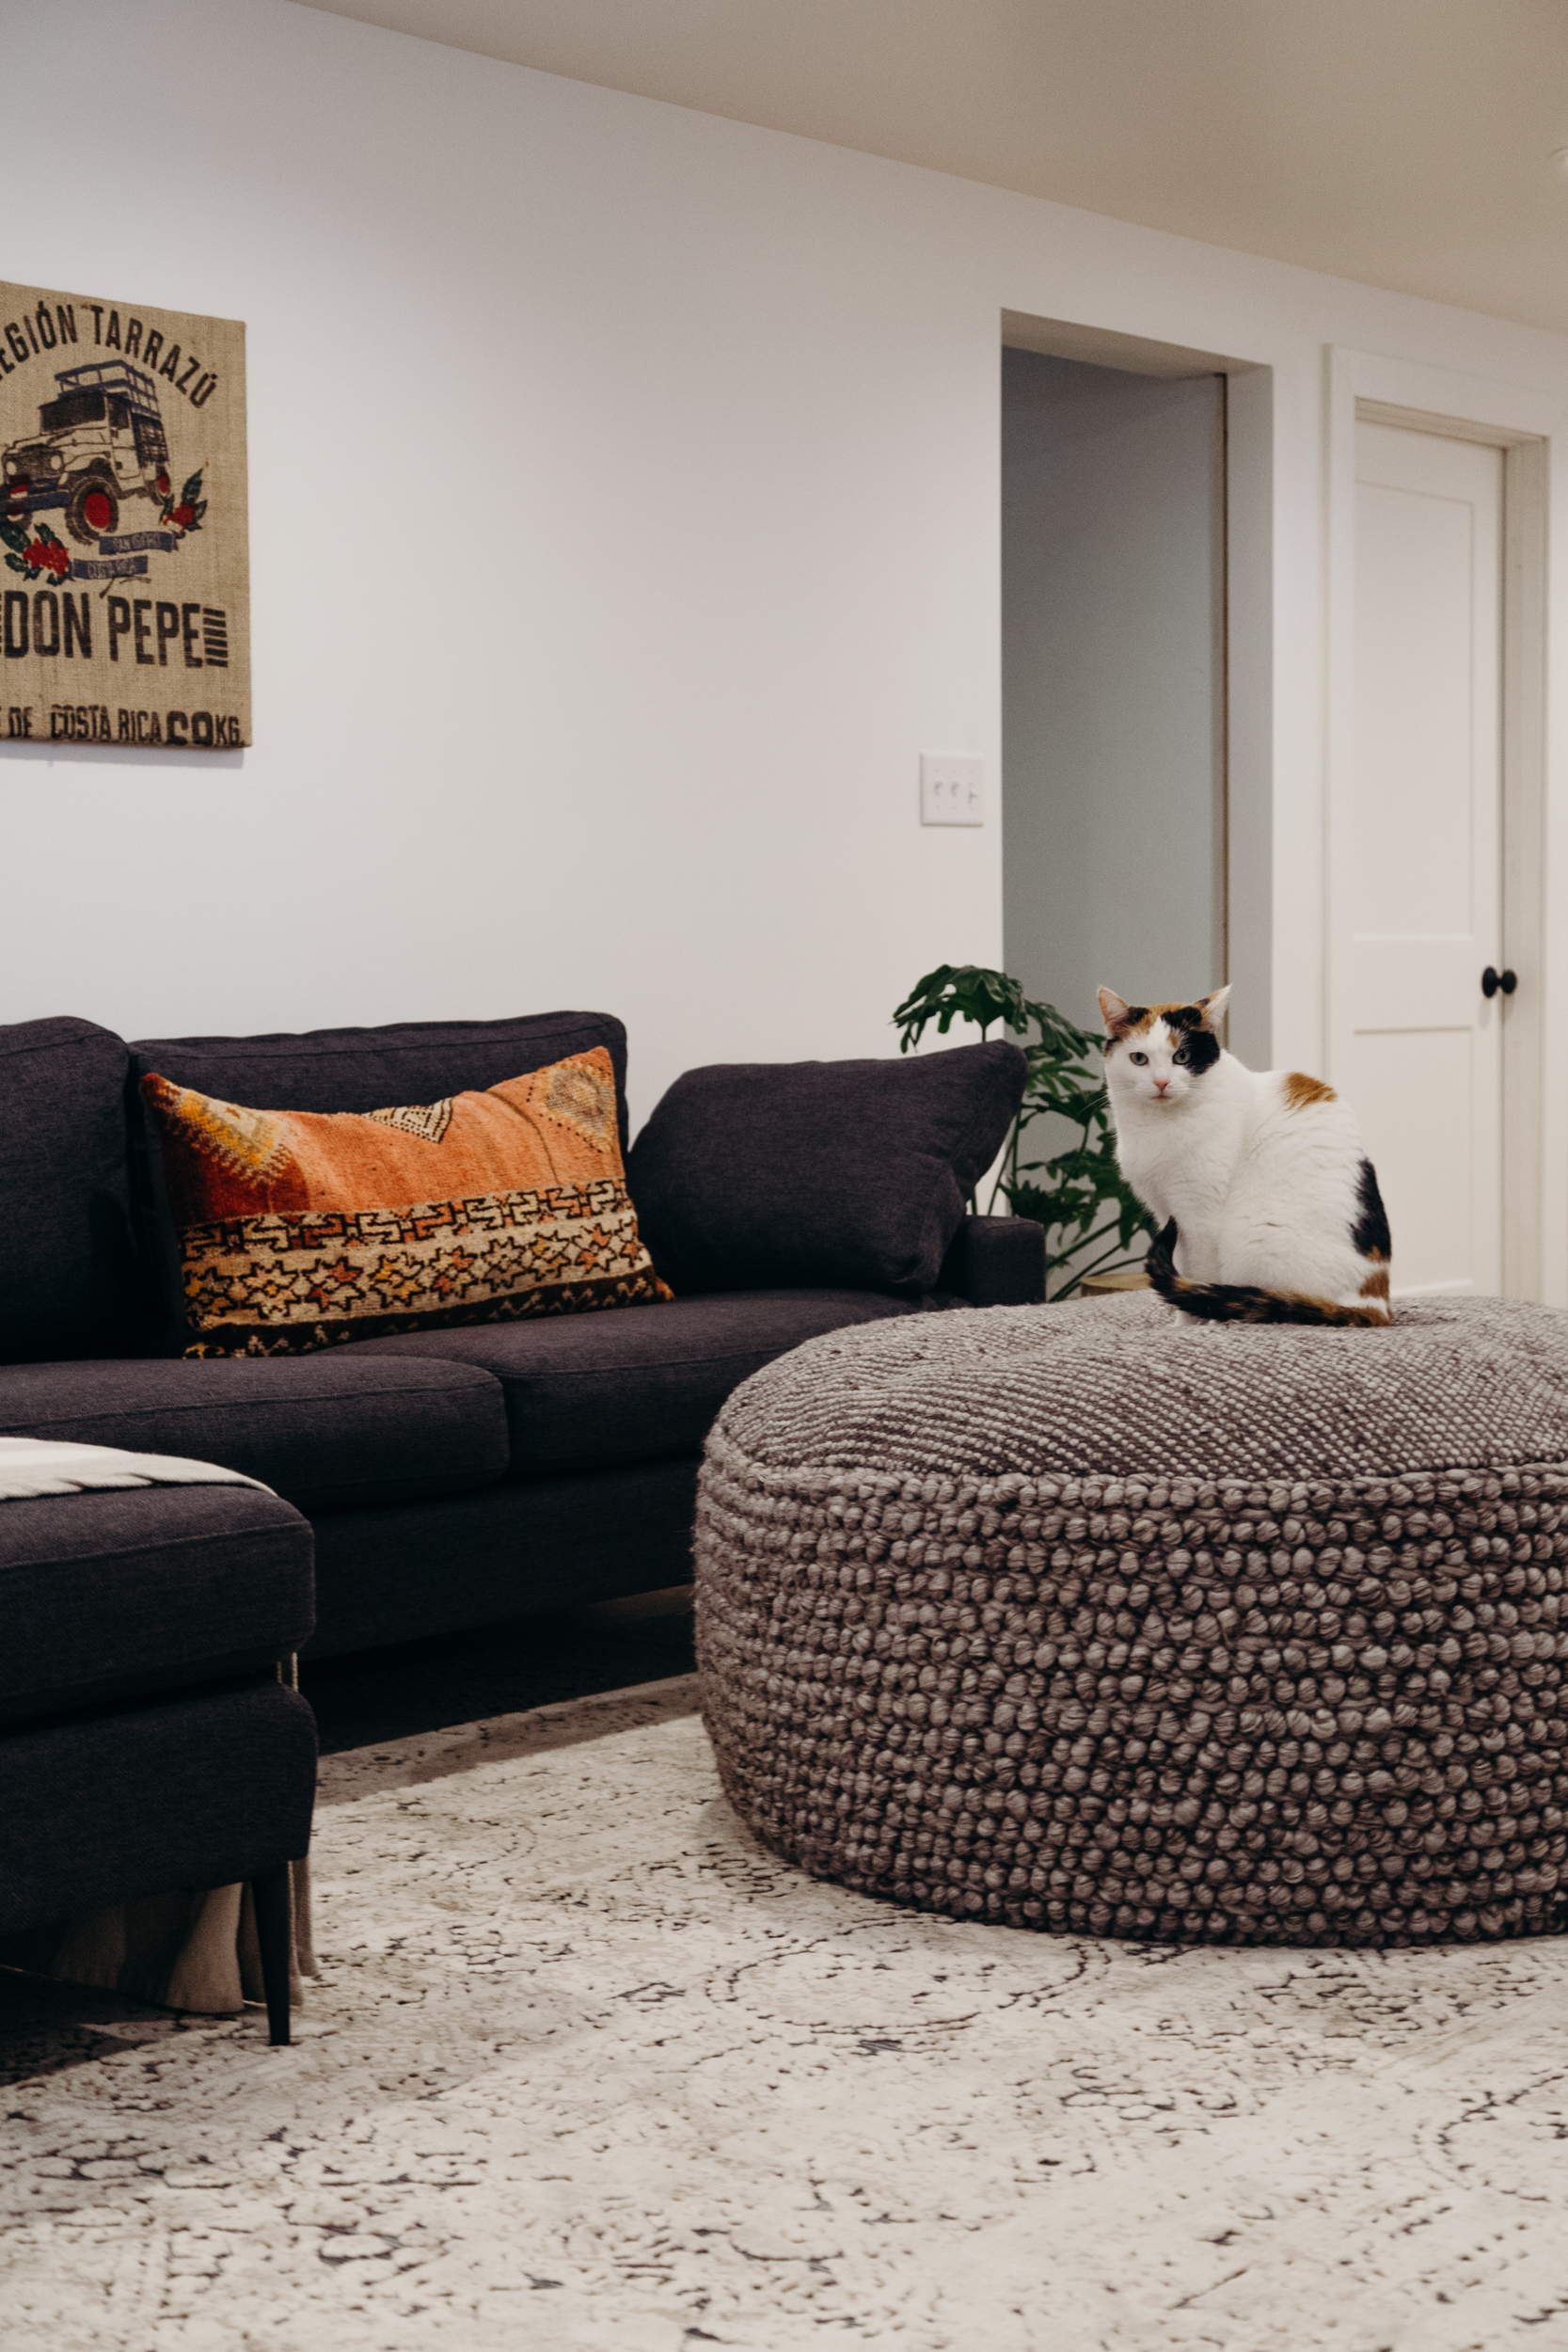 Our basement renovation is finally finished and I’m so excited to finally share the end result with you guys! It’s been a long process since we first started tearing out the old paneling and finished almost 10 months ago! If you want a refresher of how the basement looked before here’s my original before tour of our house. This basement renovation has been a true labor of love and we’ve put a lot of sweat equity into this space. Joel and I did a majority of the work with the exception of the plumbing for the new bathroom, full basement electrical, new egress window, minor HVAC updates and the taping and mudding of the drywall. Which now listing that out seems like we hired out a lot, but trust me it didn’t feel that way!
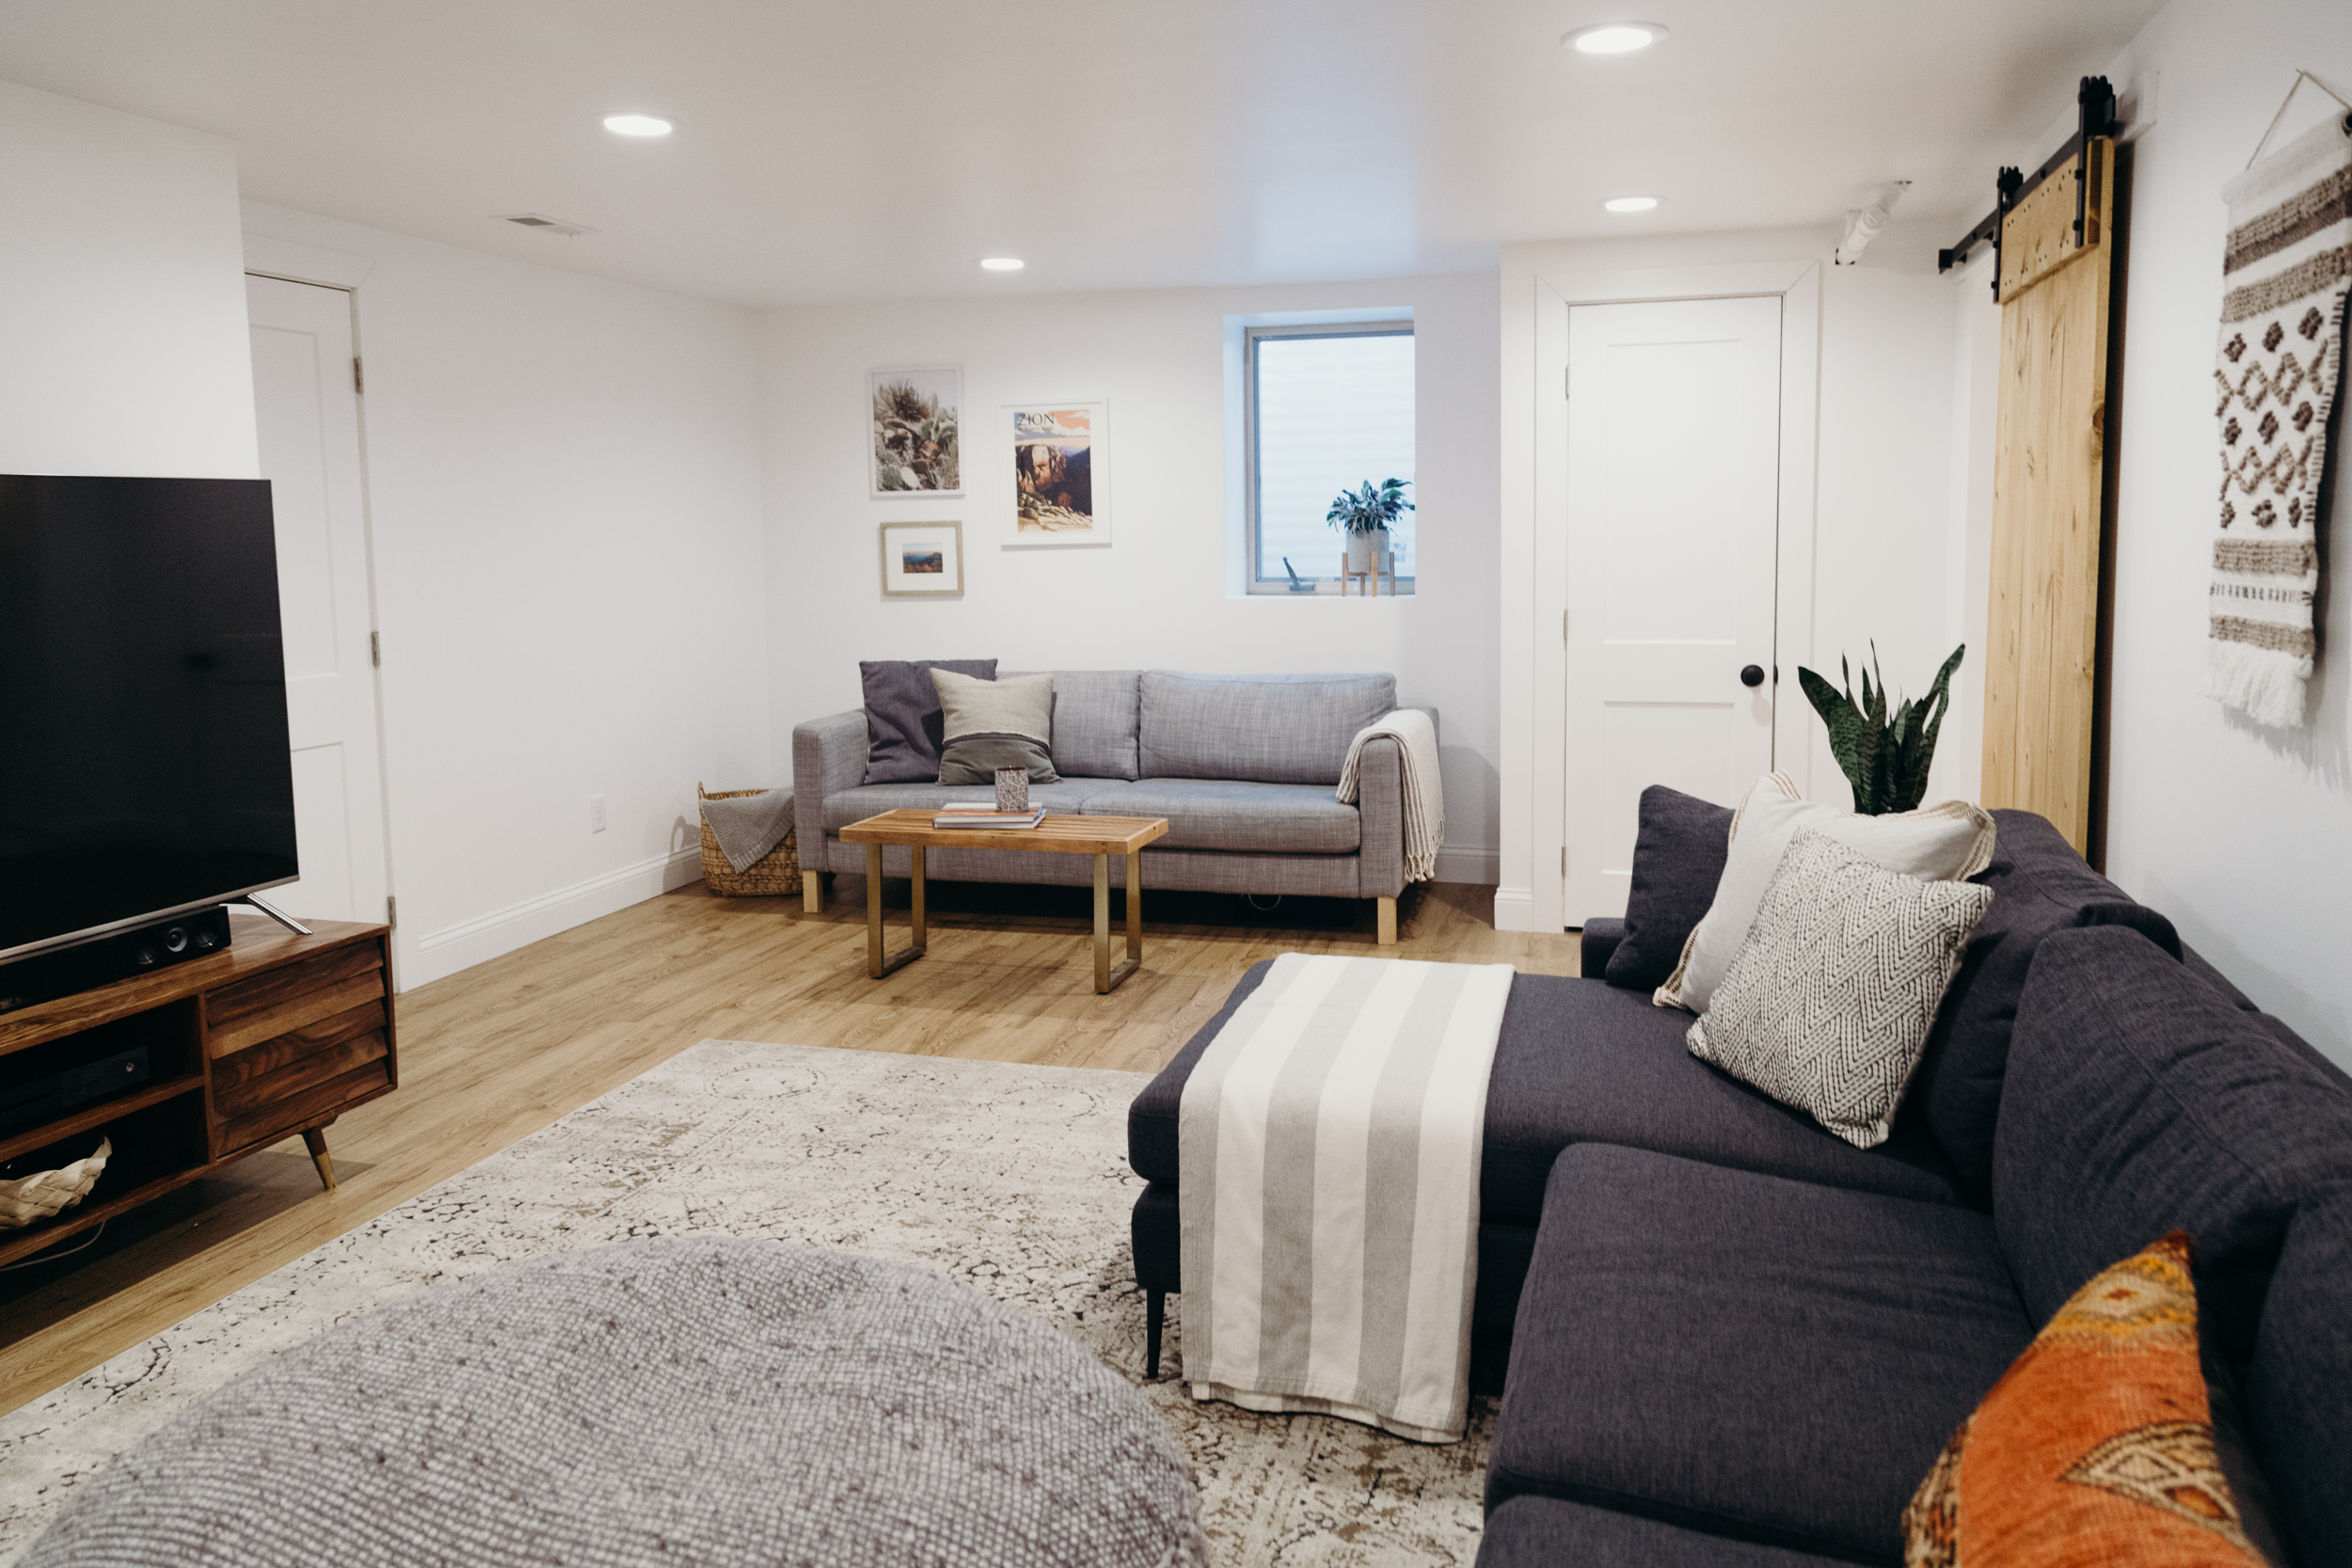
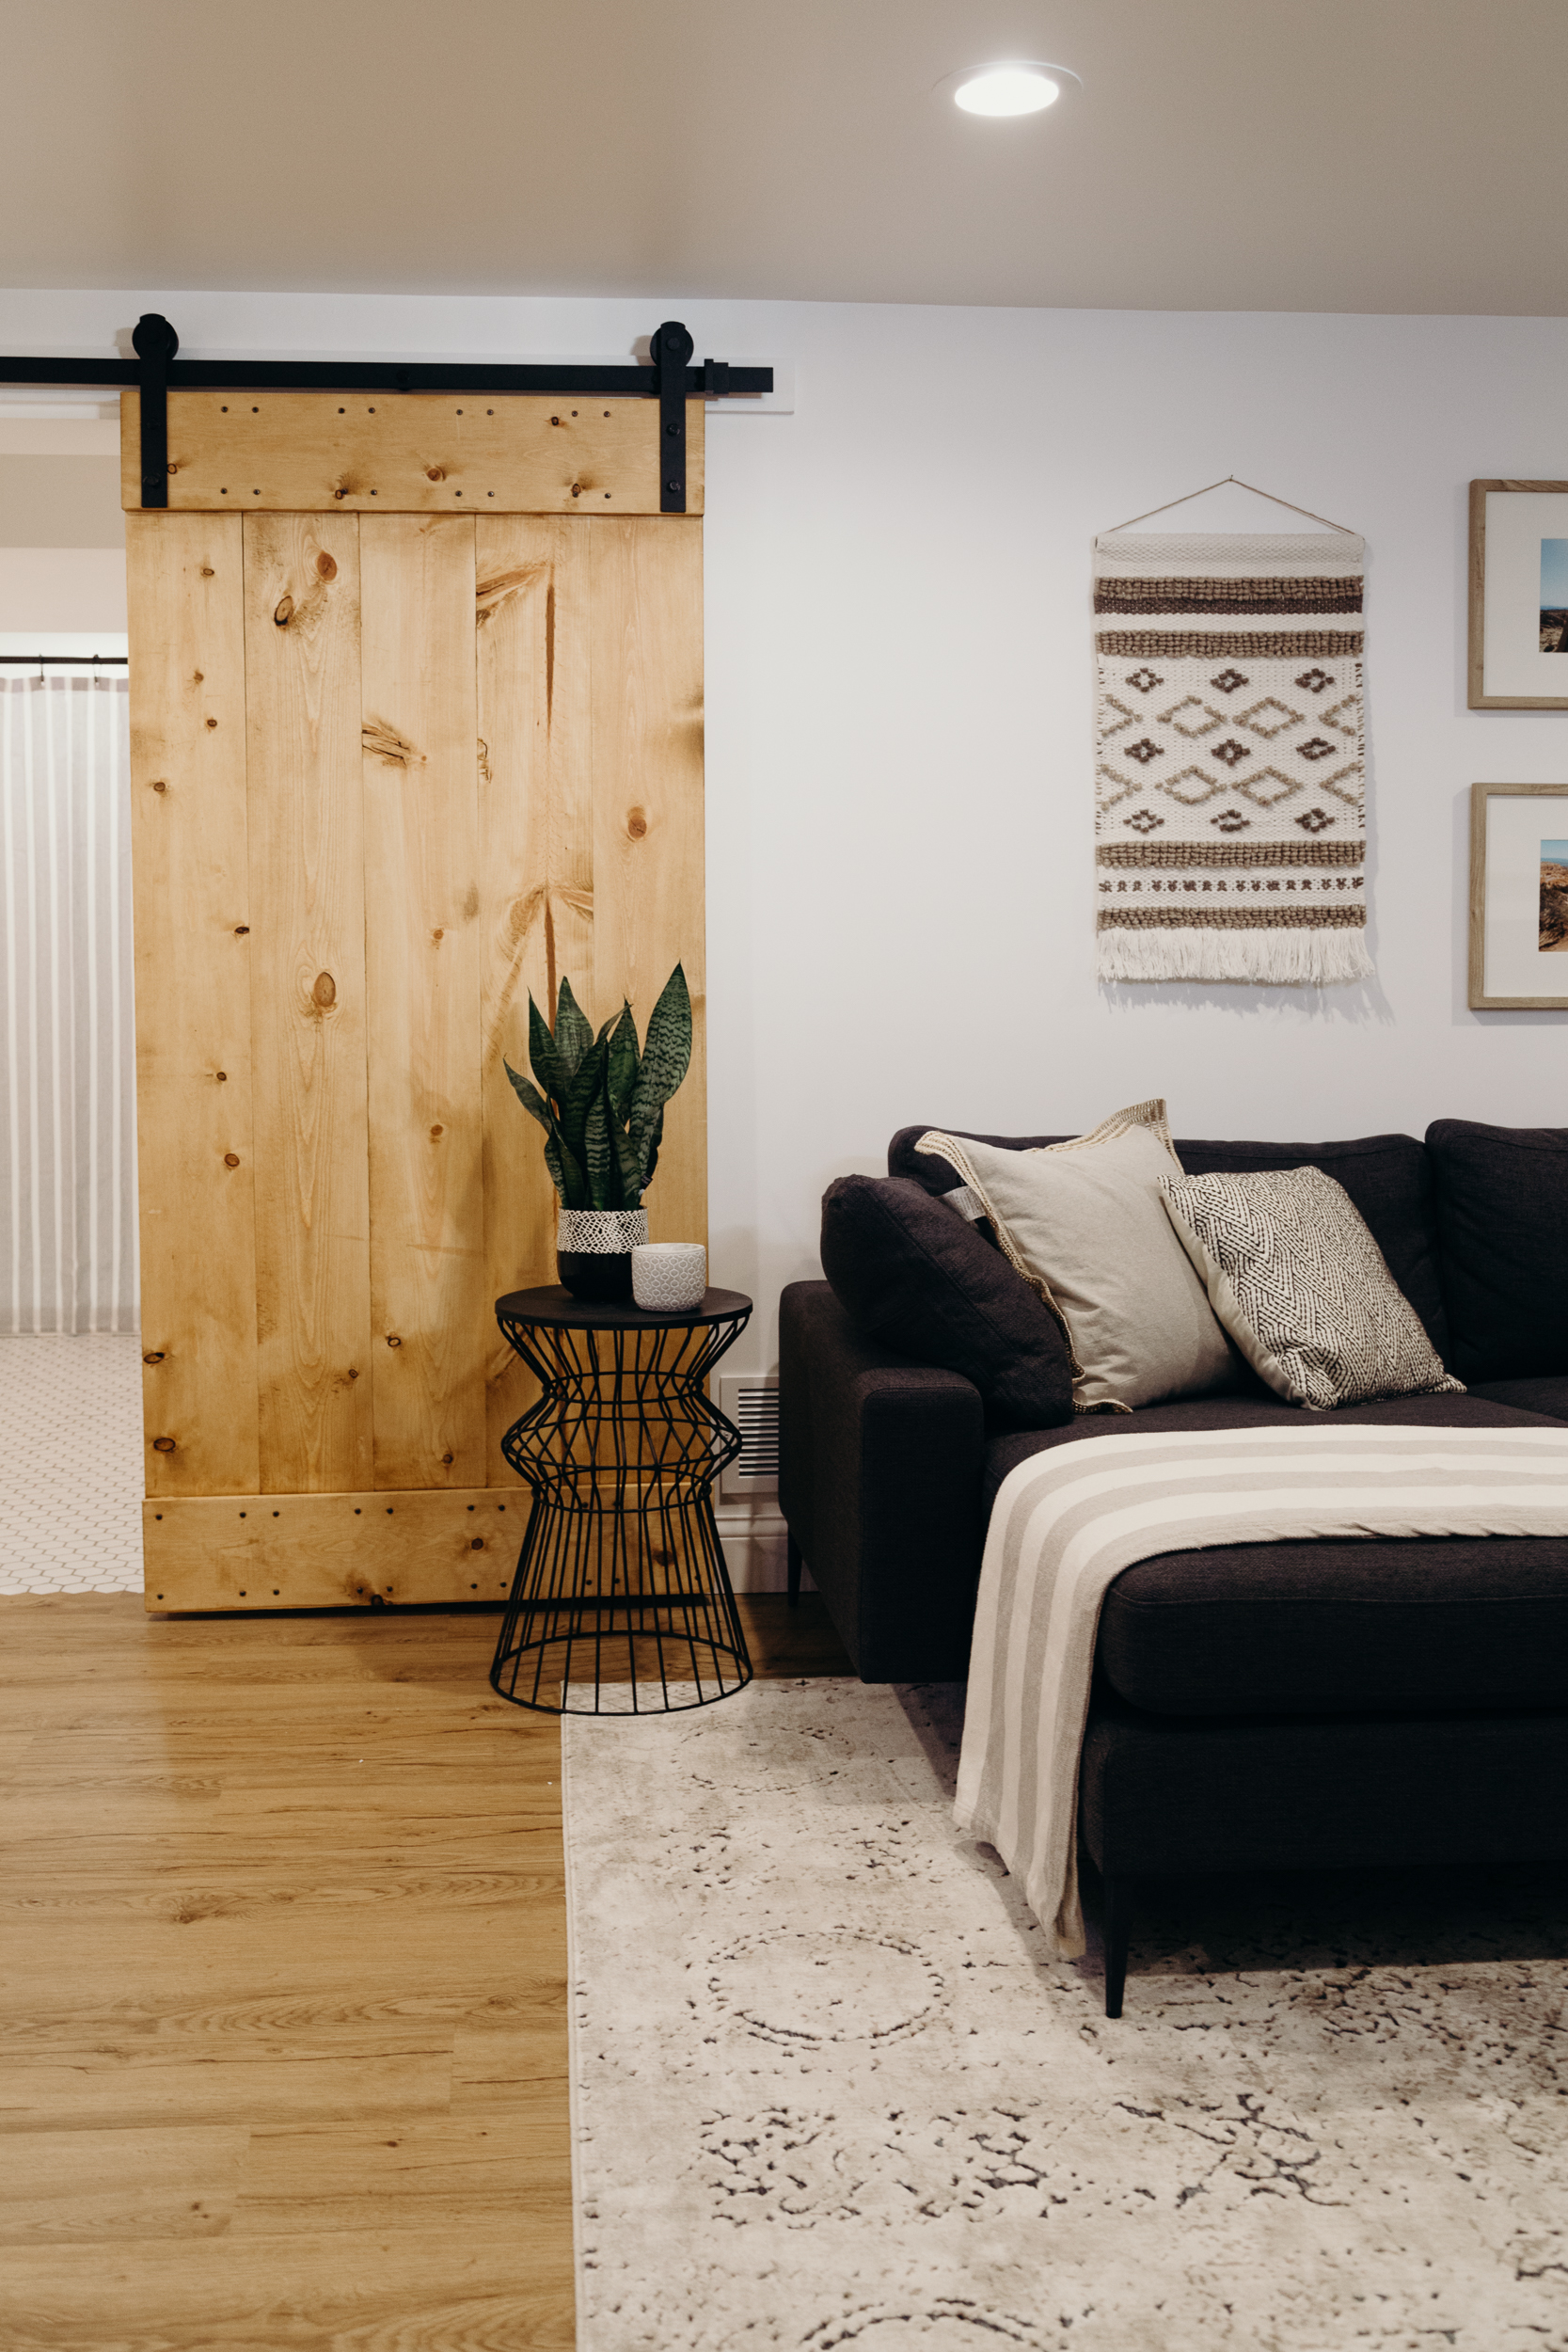
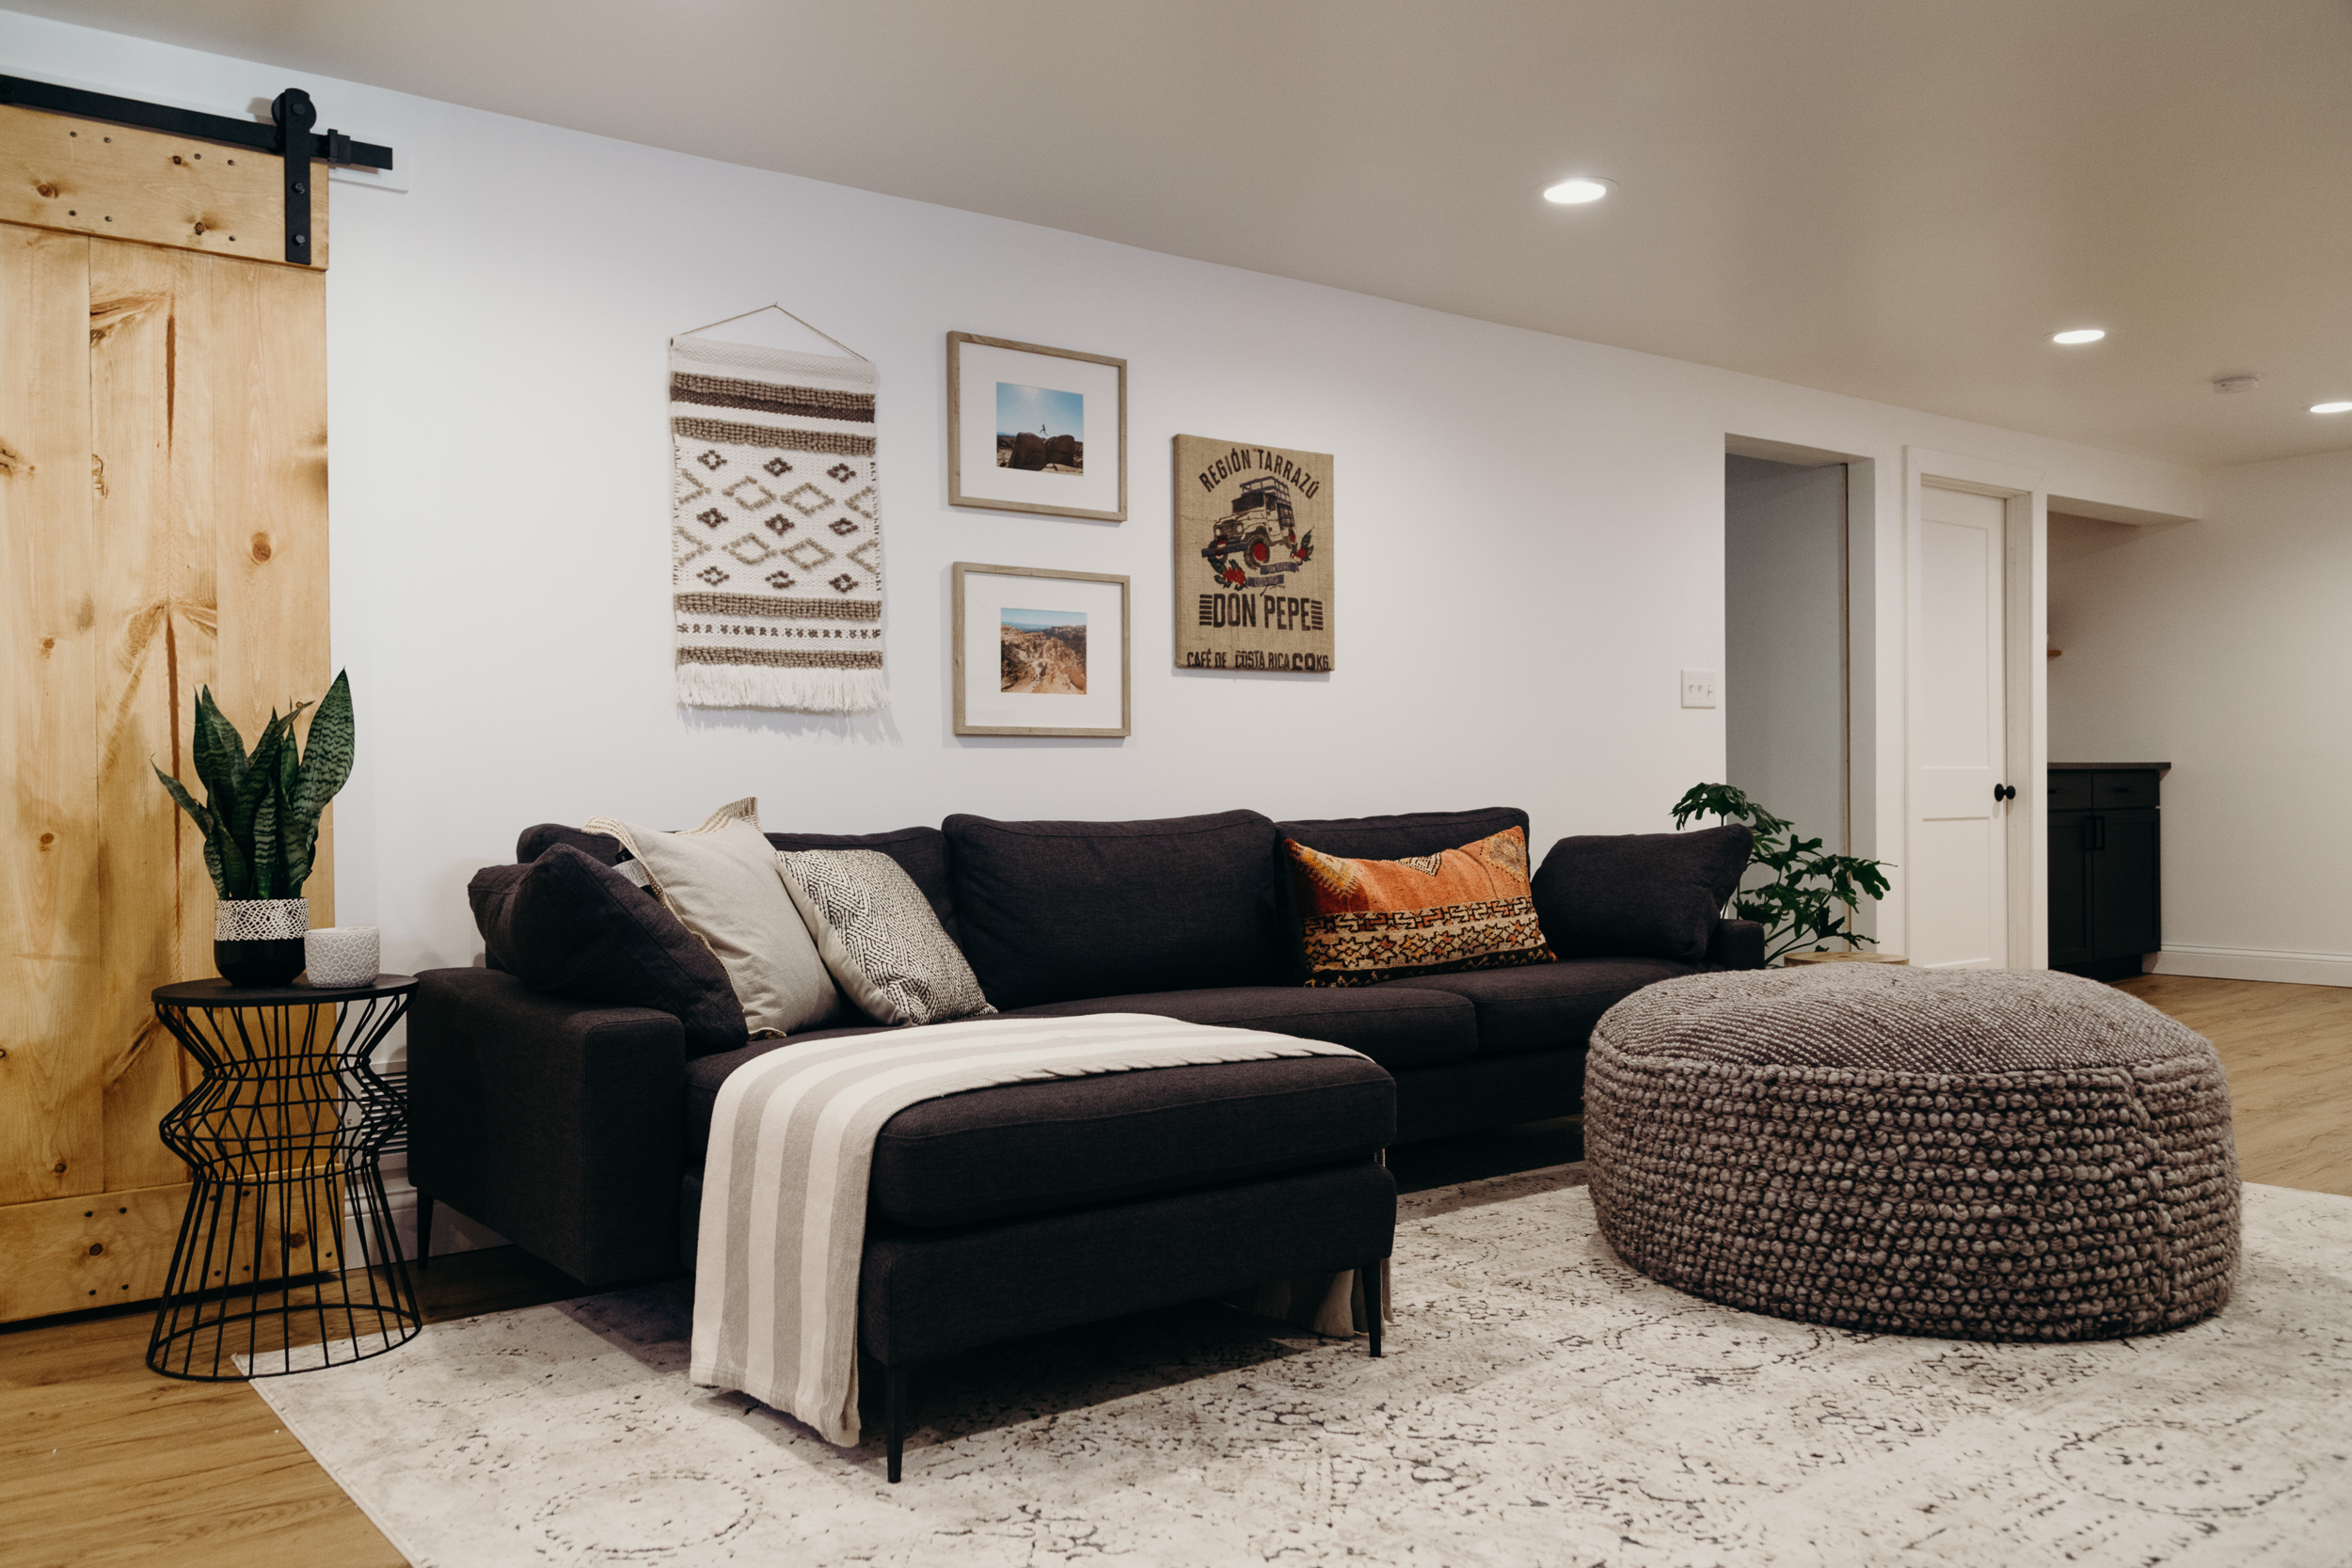
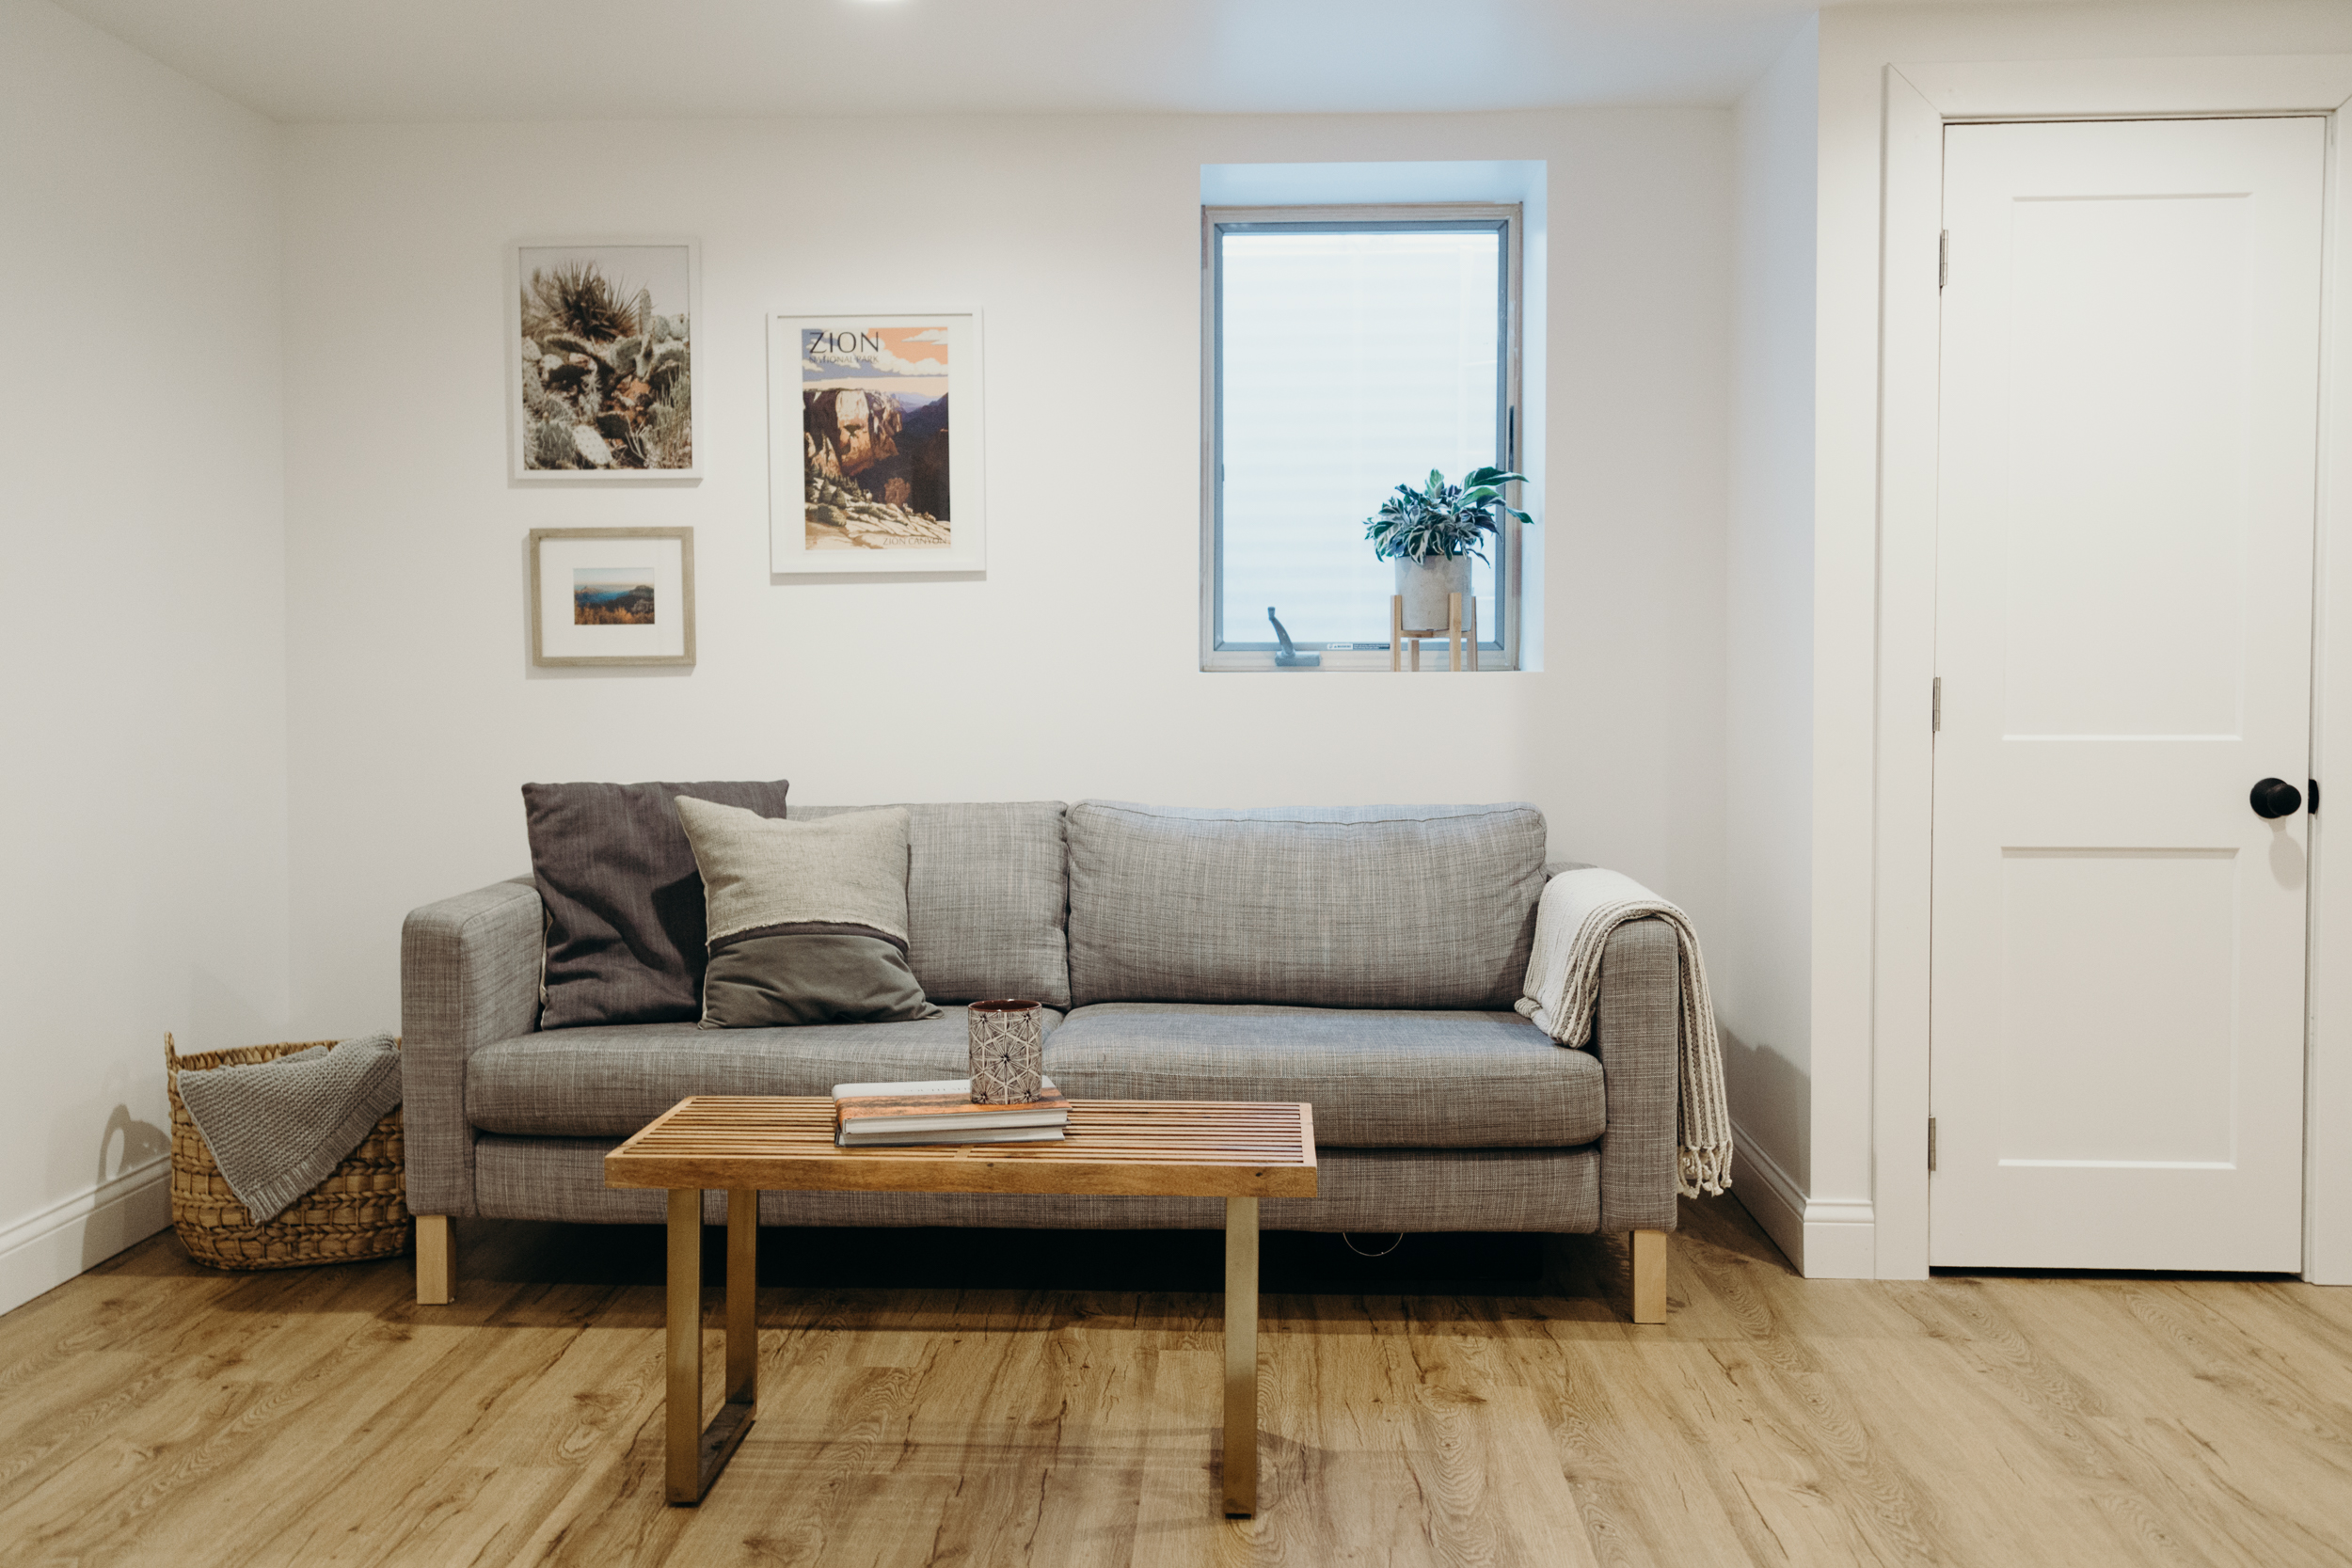 When we initially started brainstorming the layout of the basement we wanted to add a four bedroom where this couch is above, but opted out of the extra bedroom after talking with our realtor and I’m so glad now that we kept it one big open space. We still had the egress window installed for more natural light down there and I like the added safety of having an egress since all the other windows are small glass blocks.
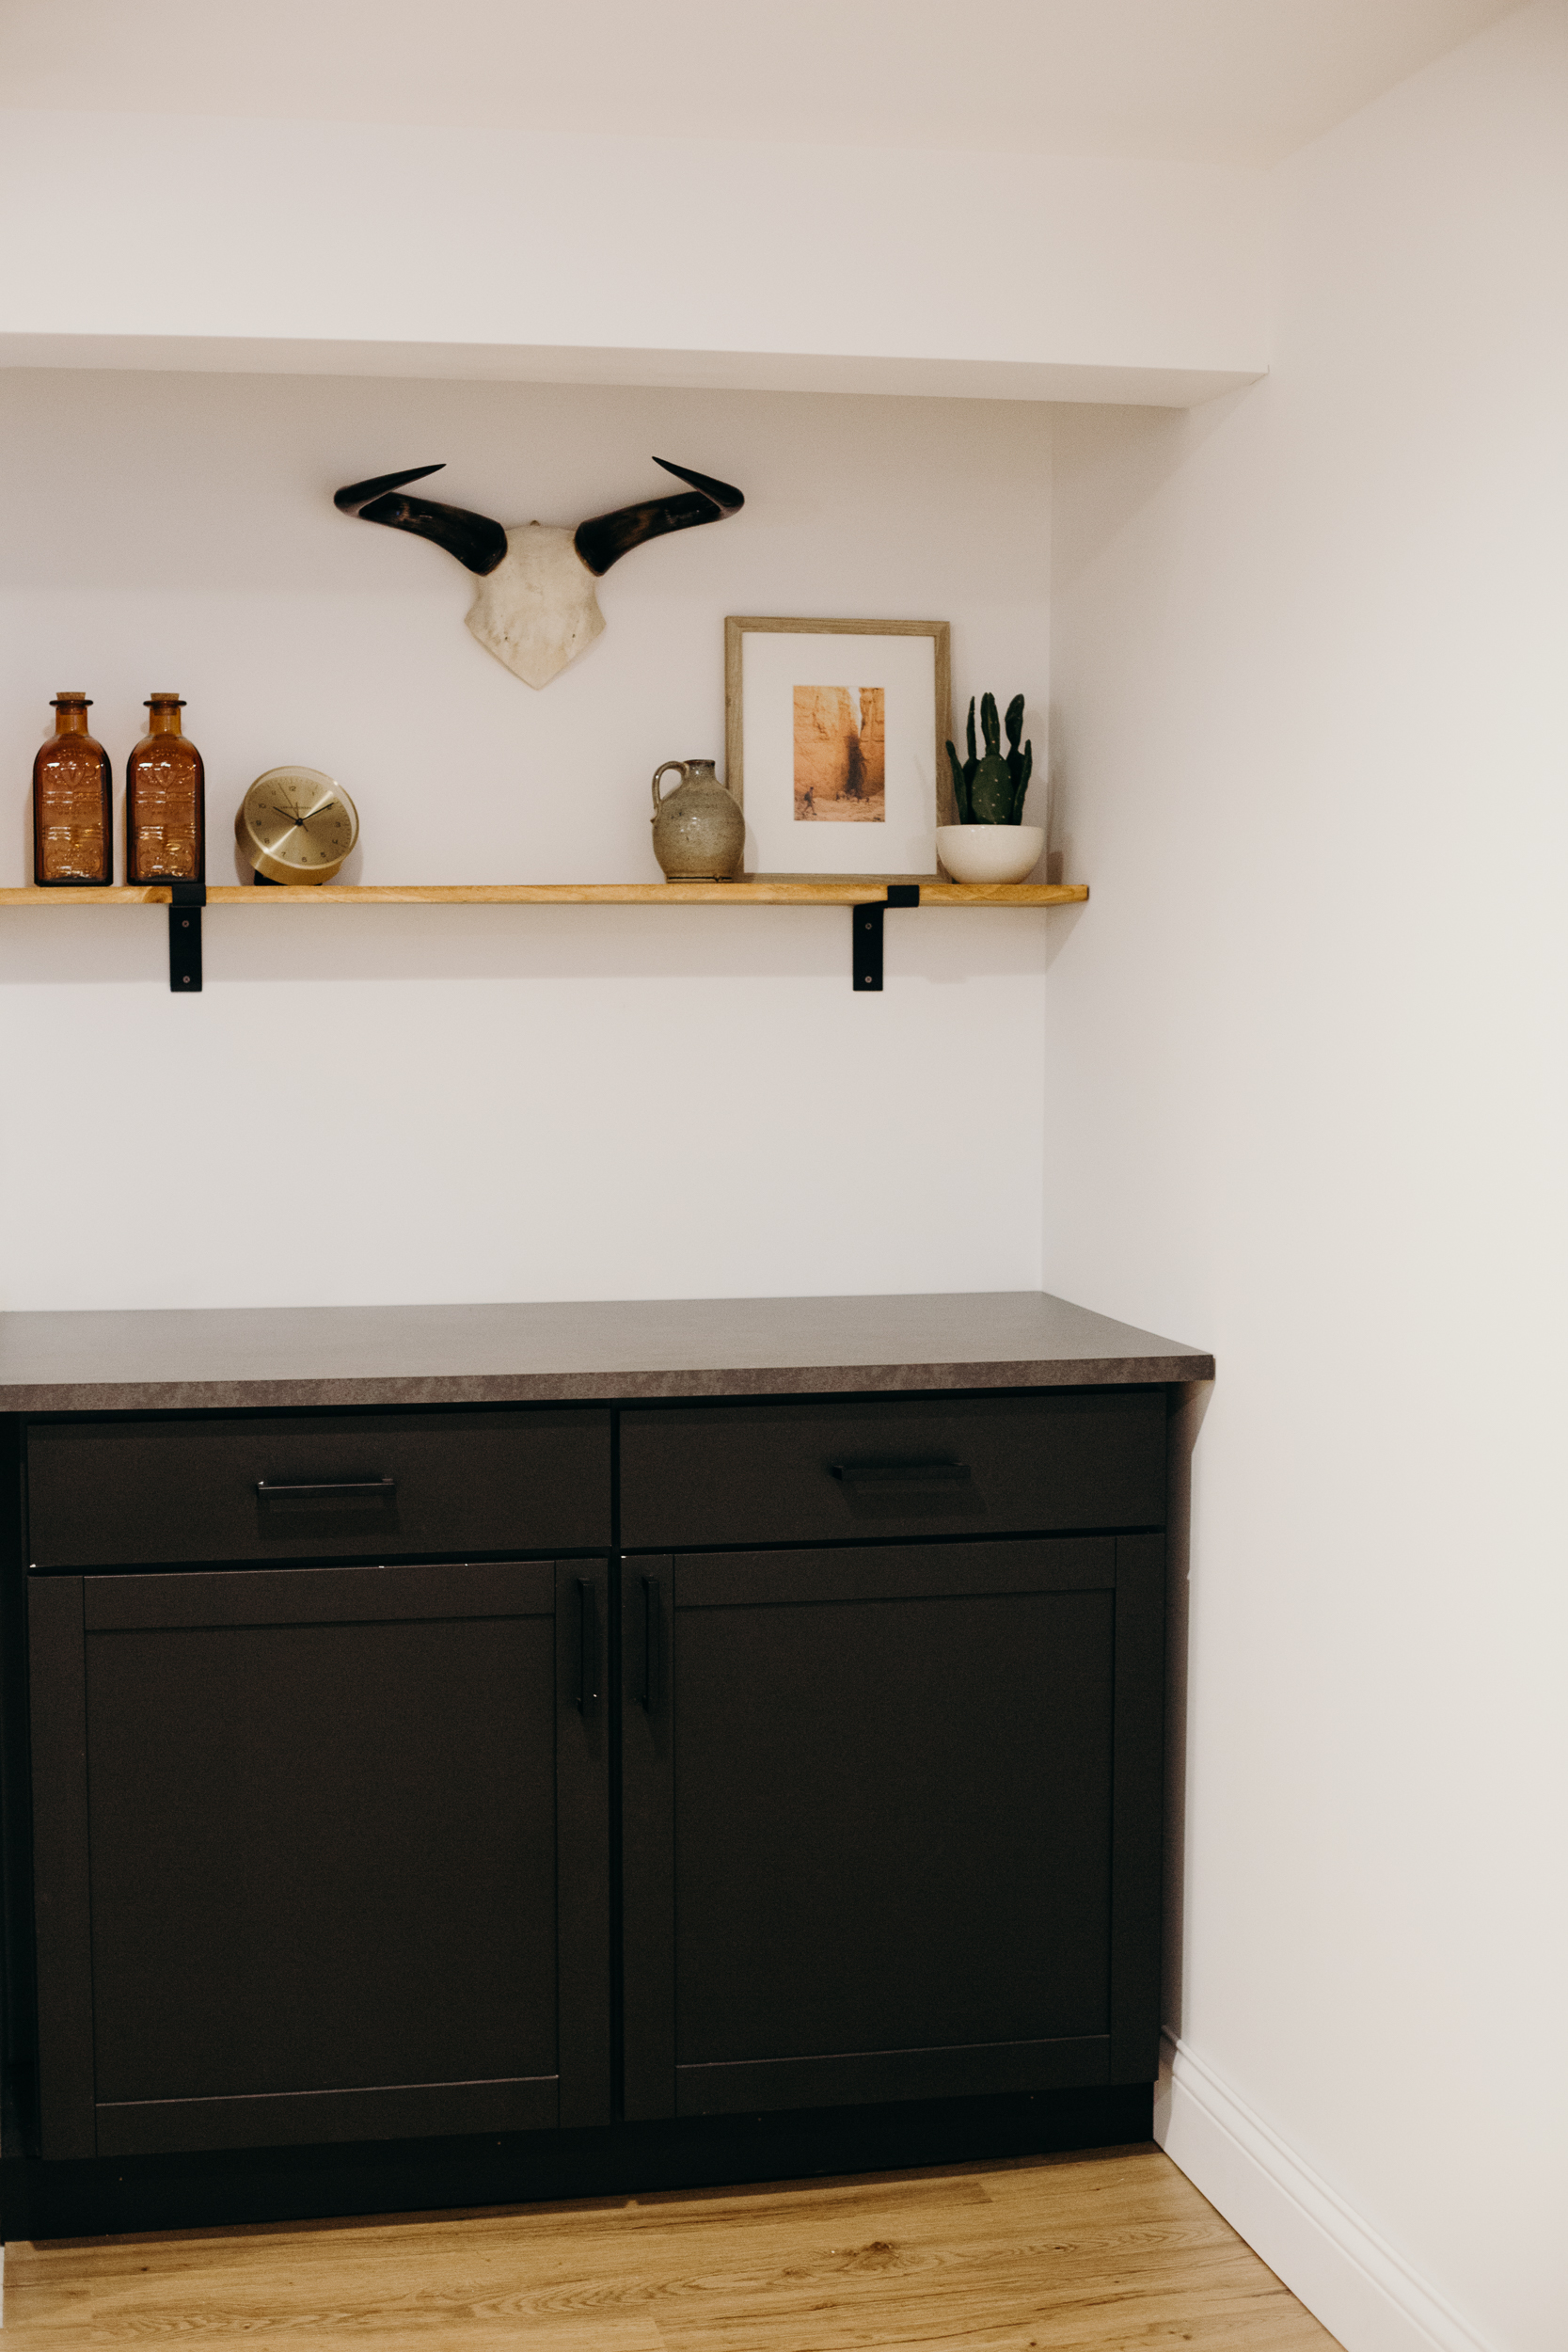
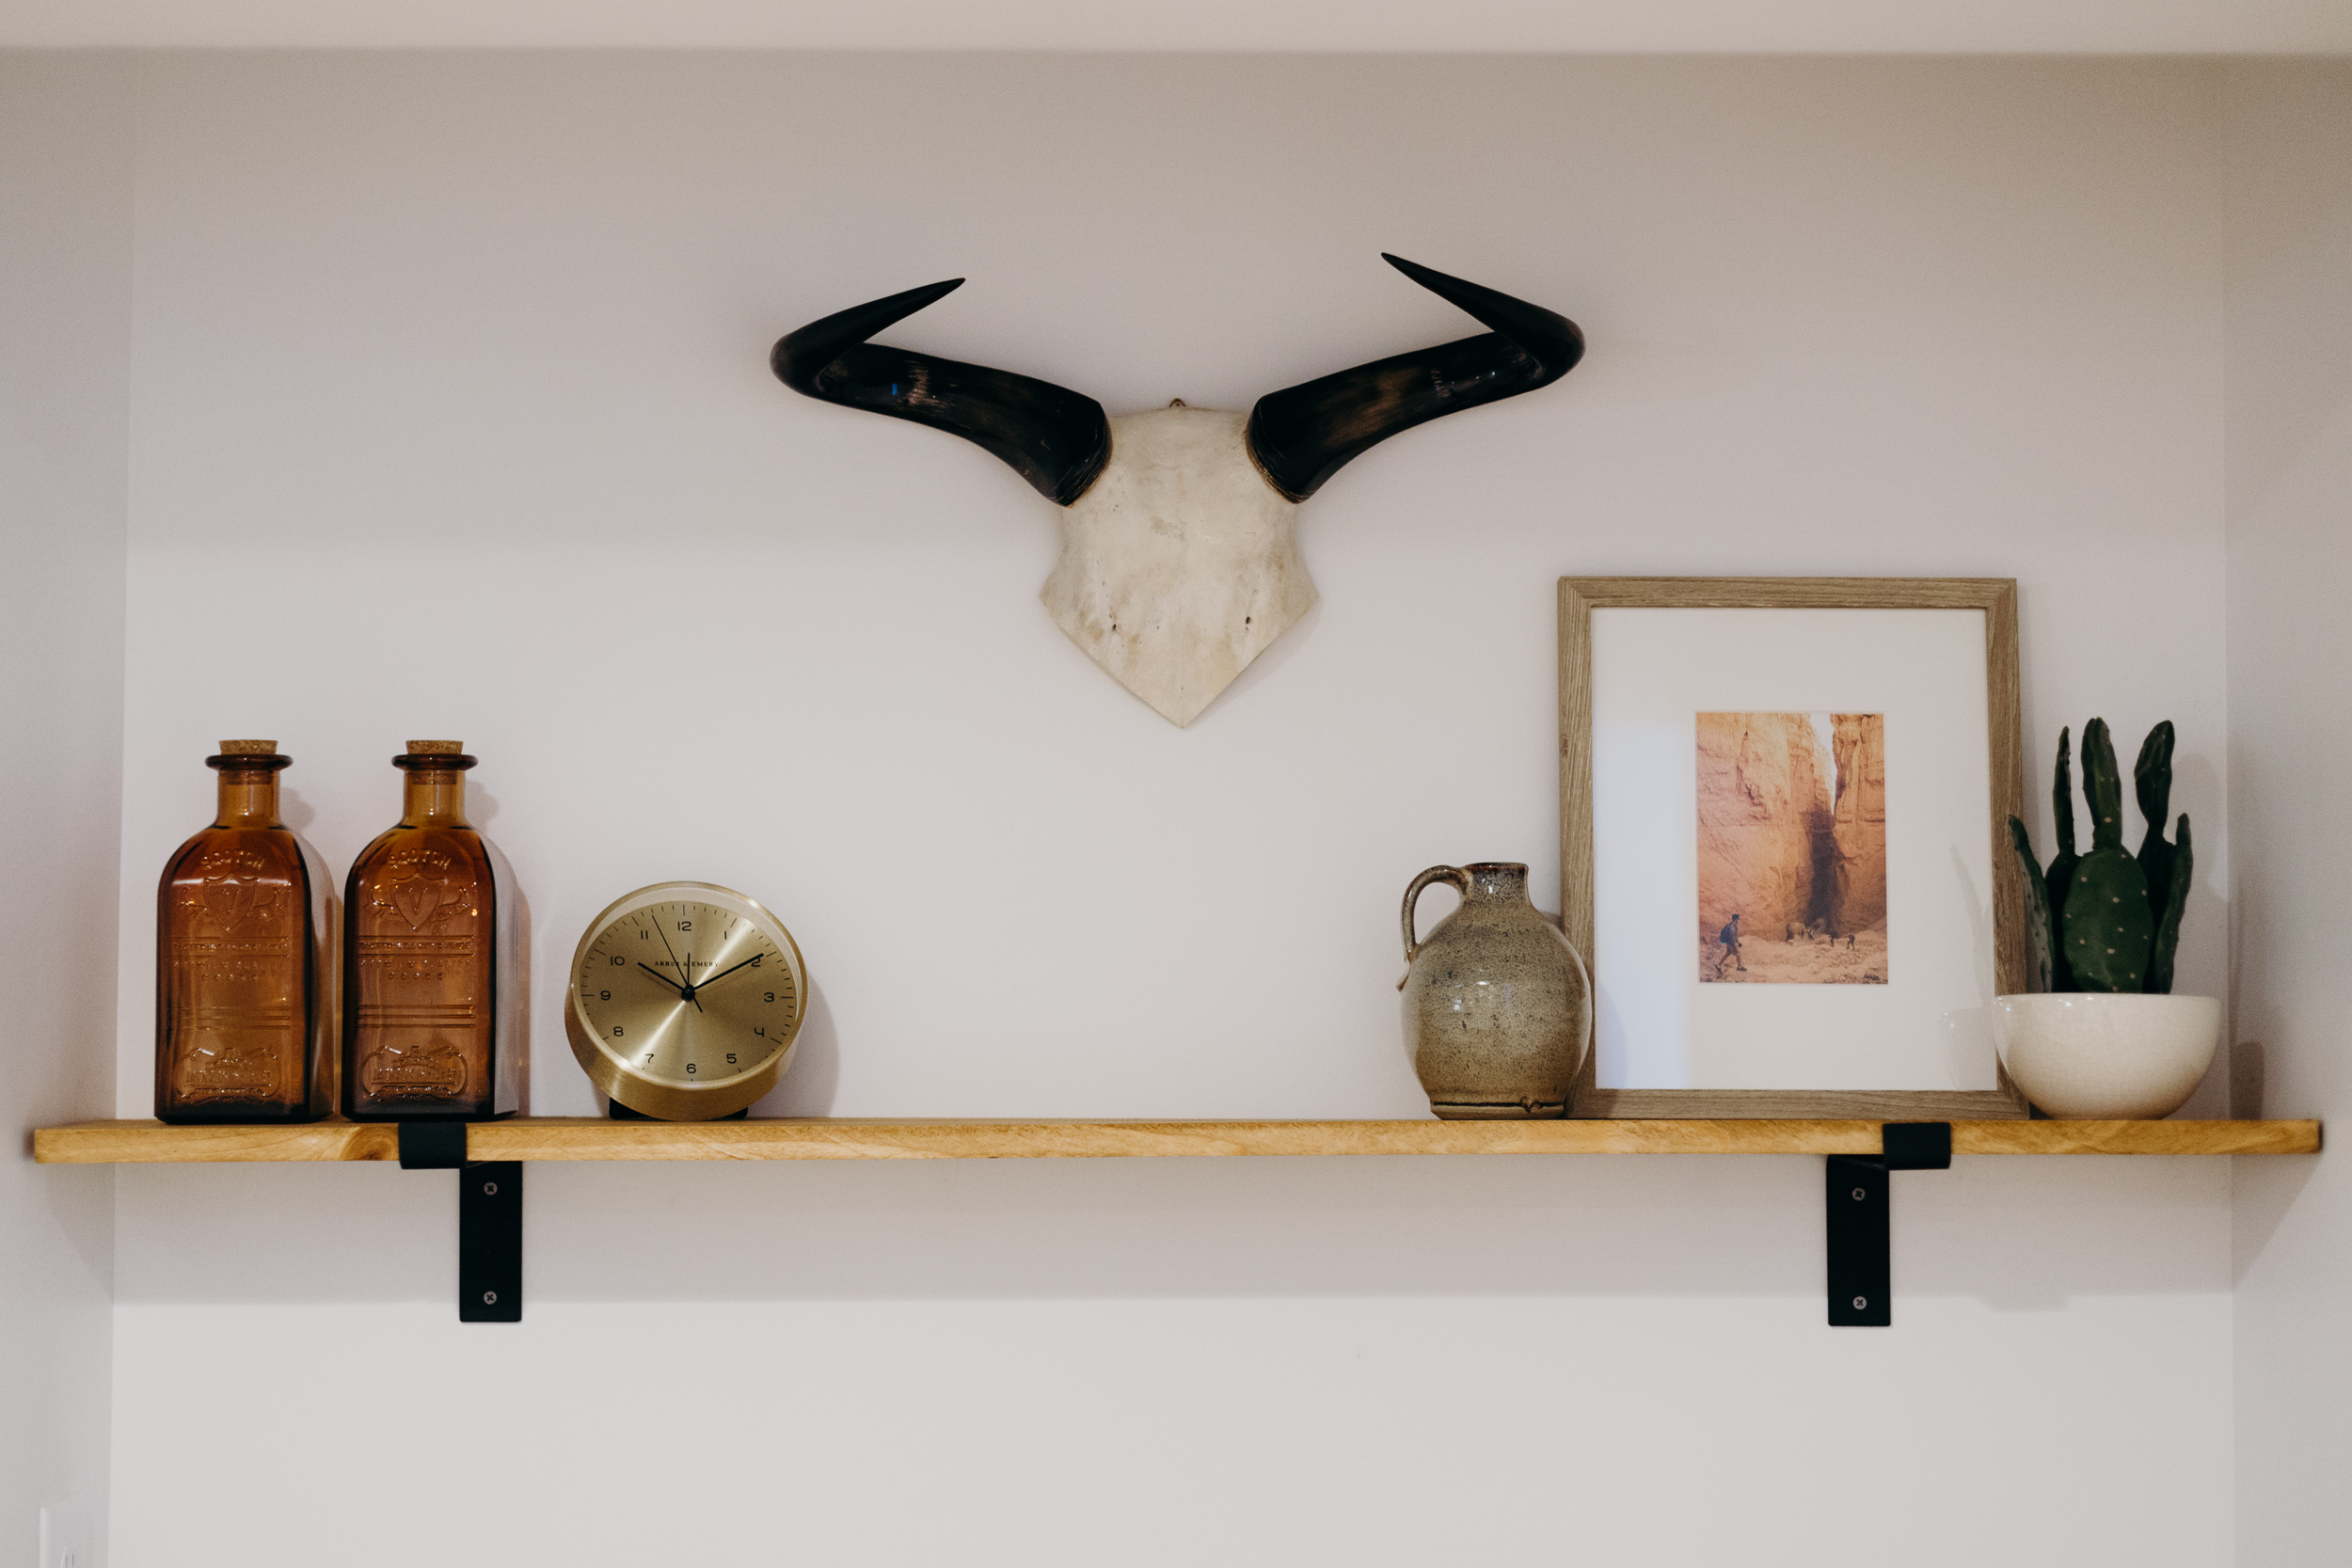 We added this little built in dry bar area to the other side of the space and it’s great additional storage and makes for a nice place to set out snacks or drinks for when we have friends and family over.
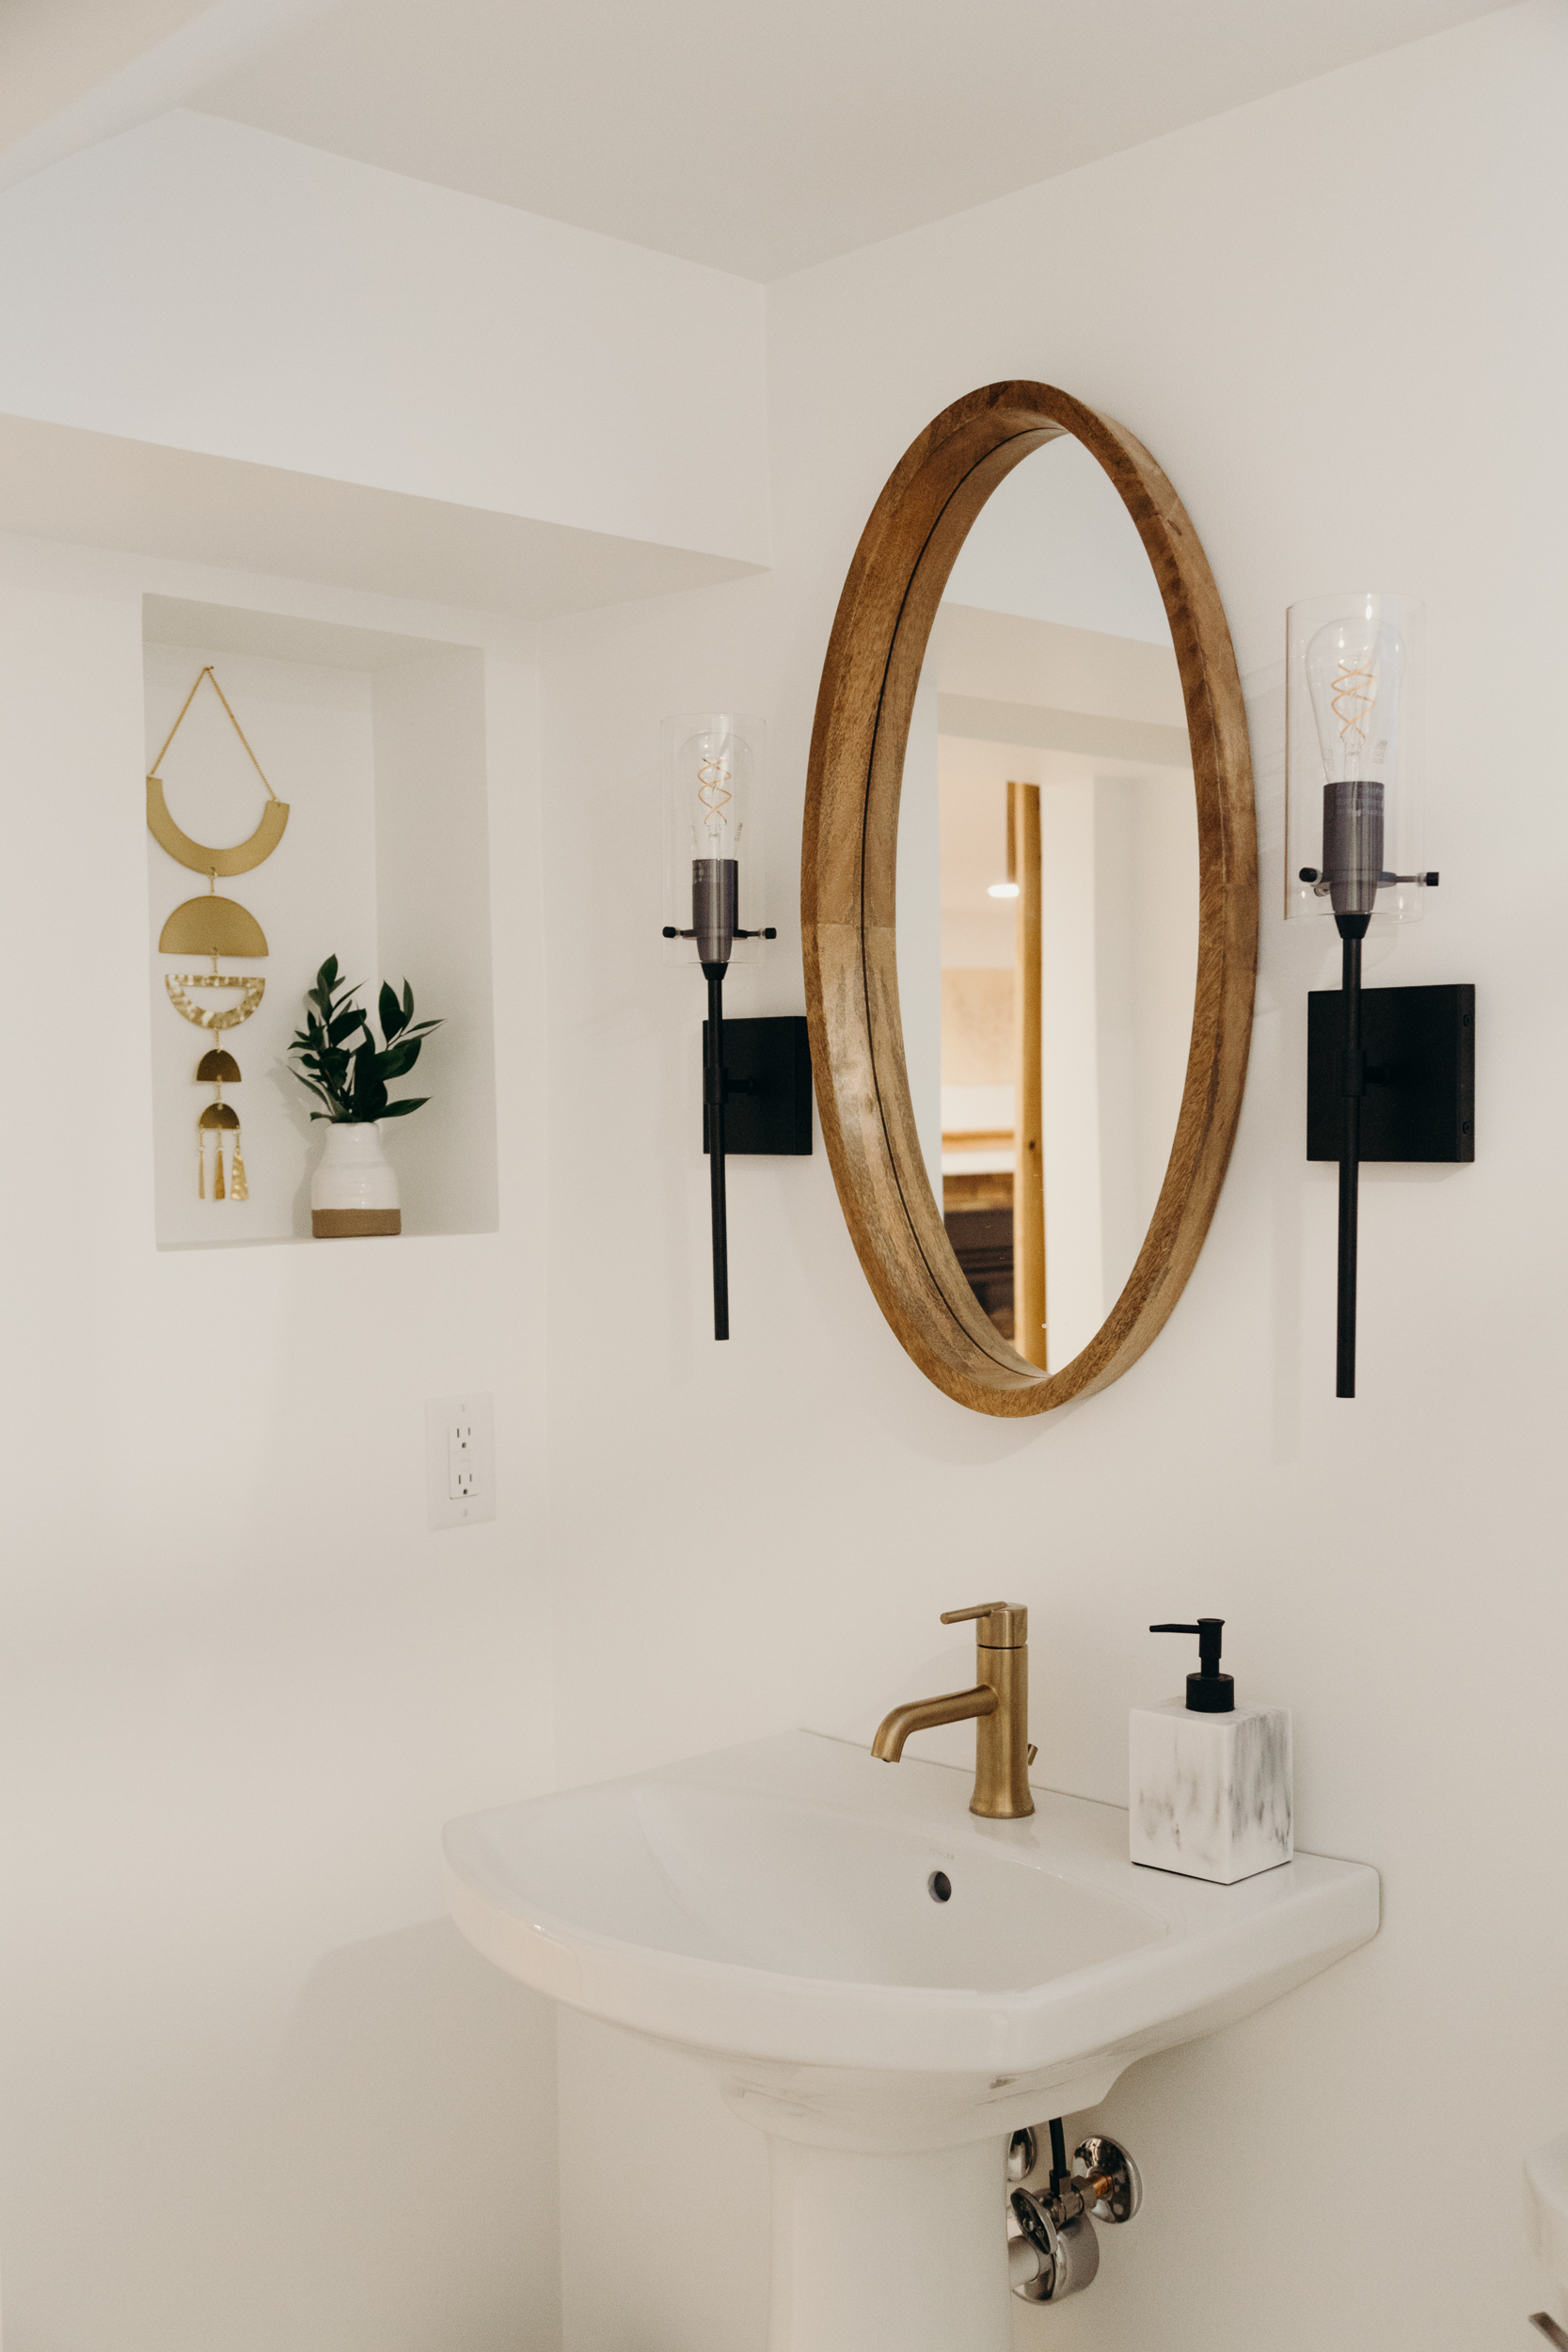
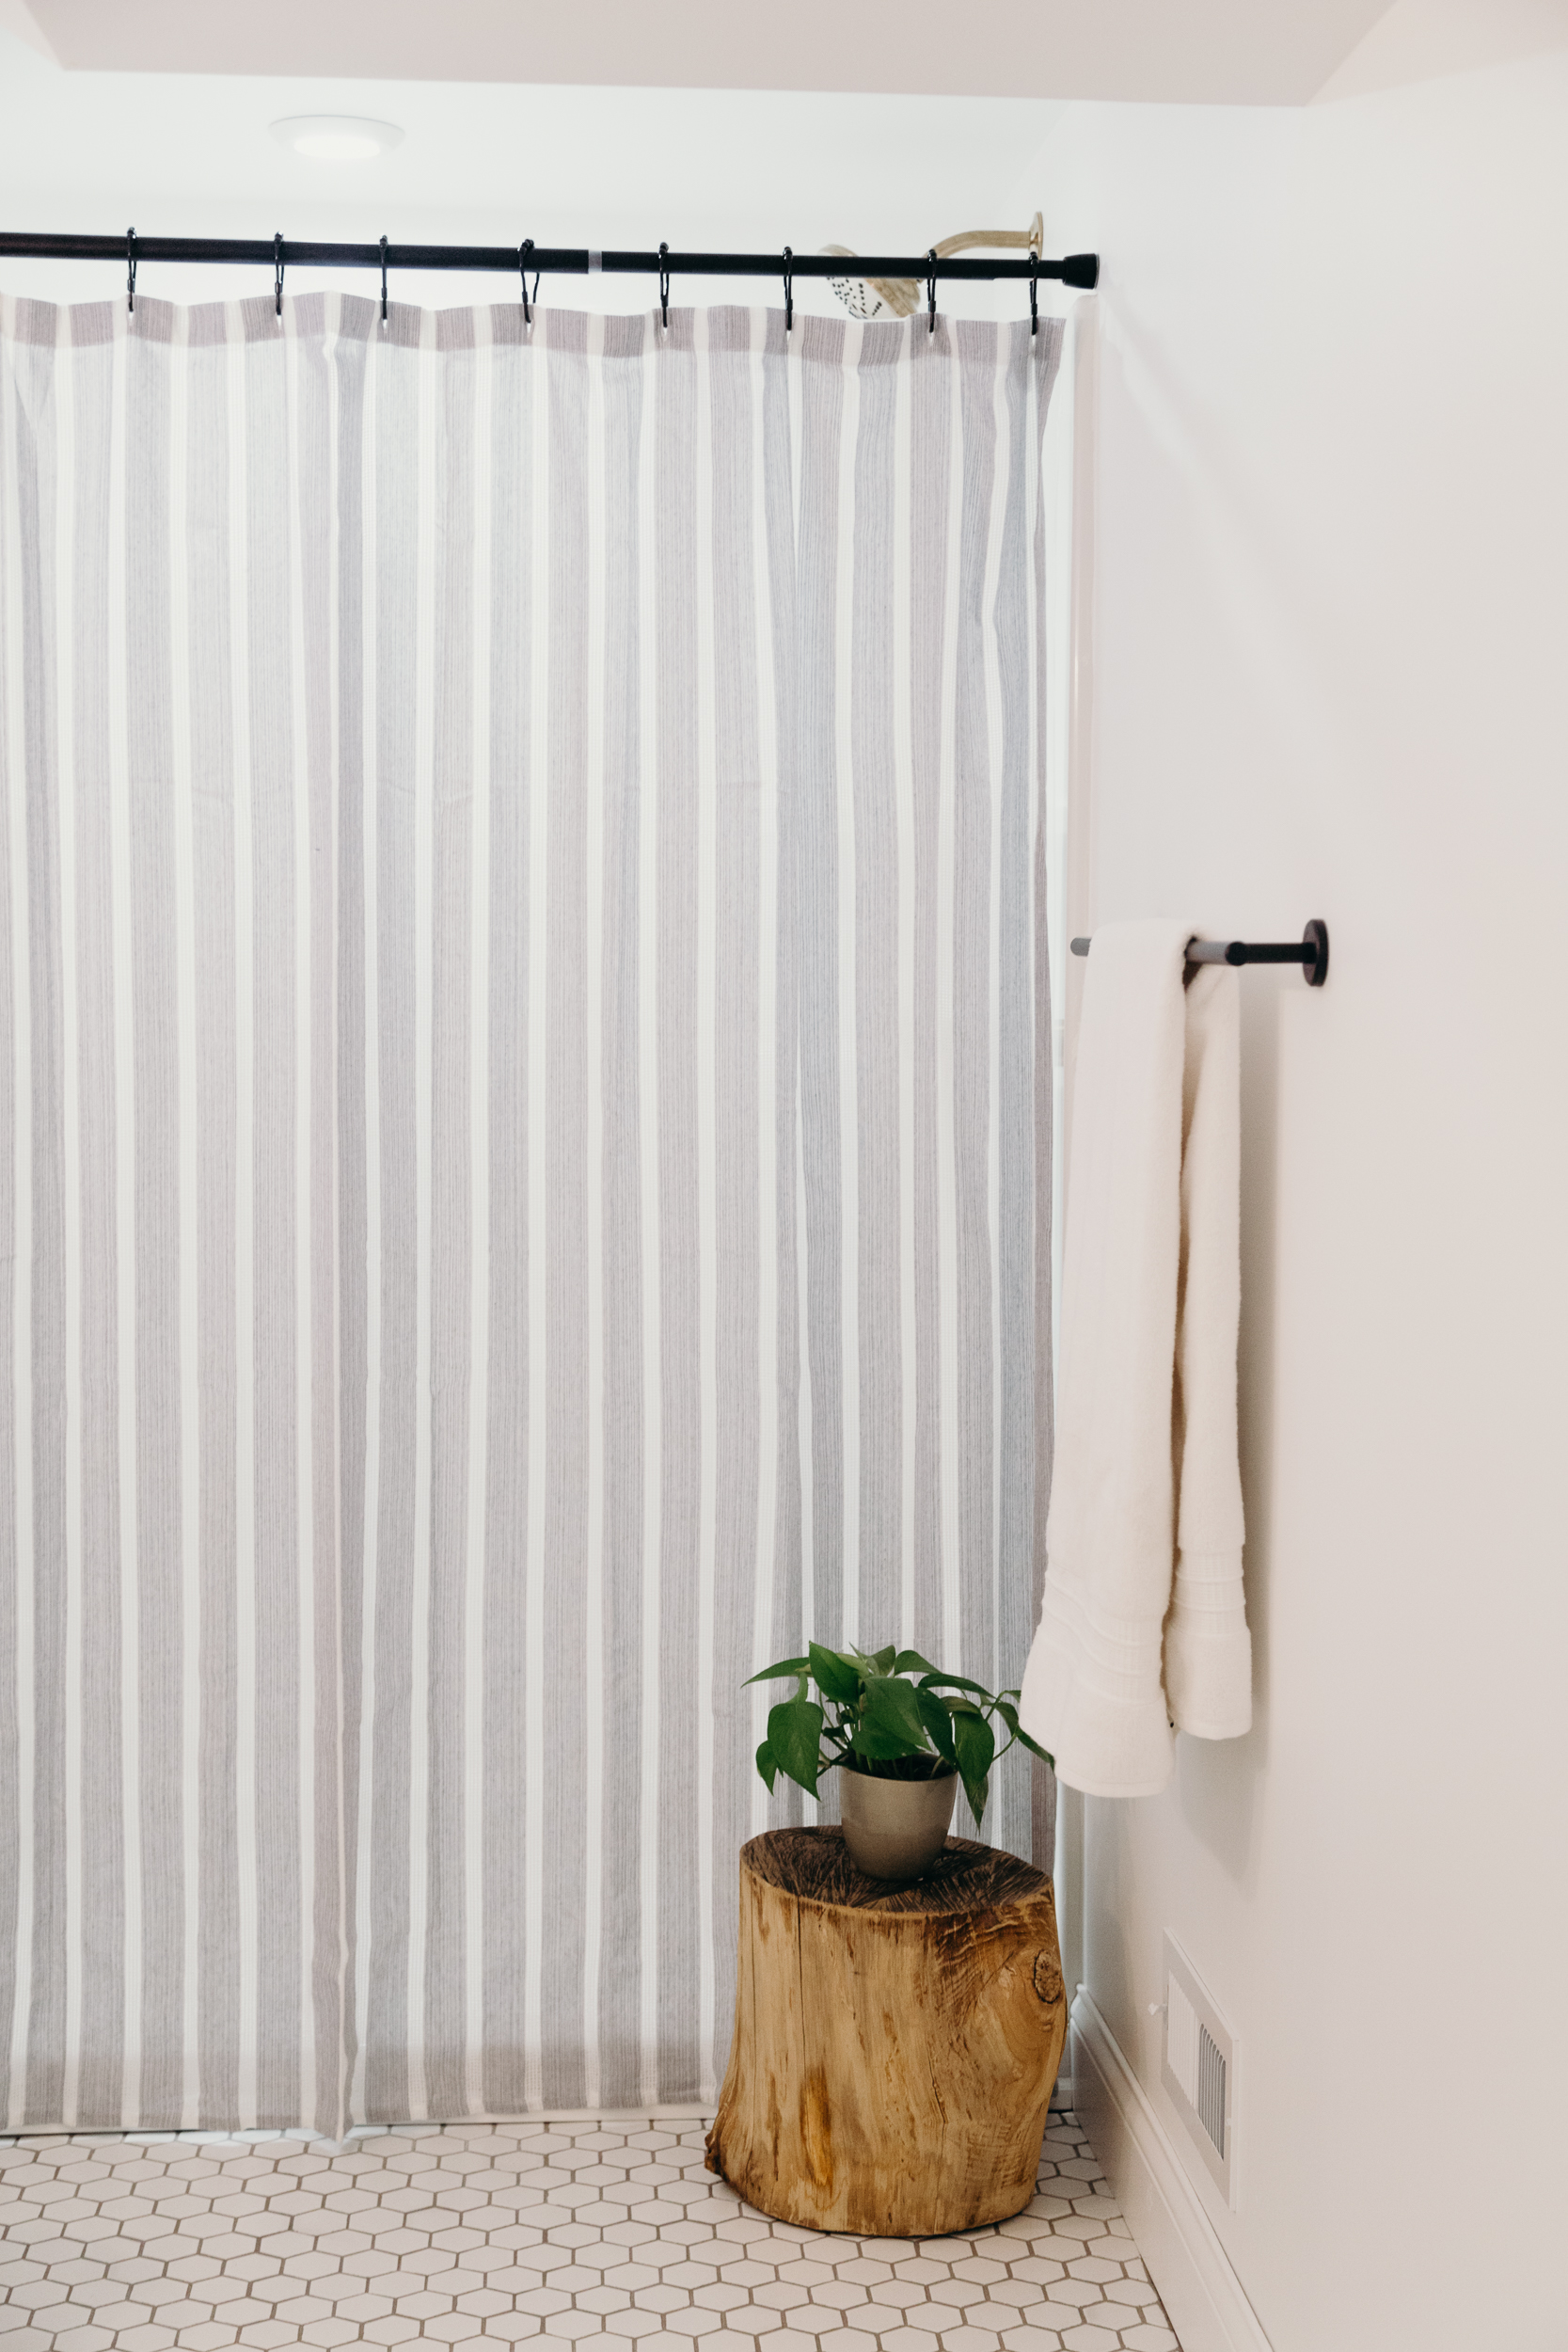
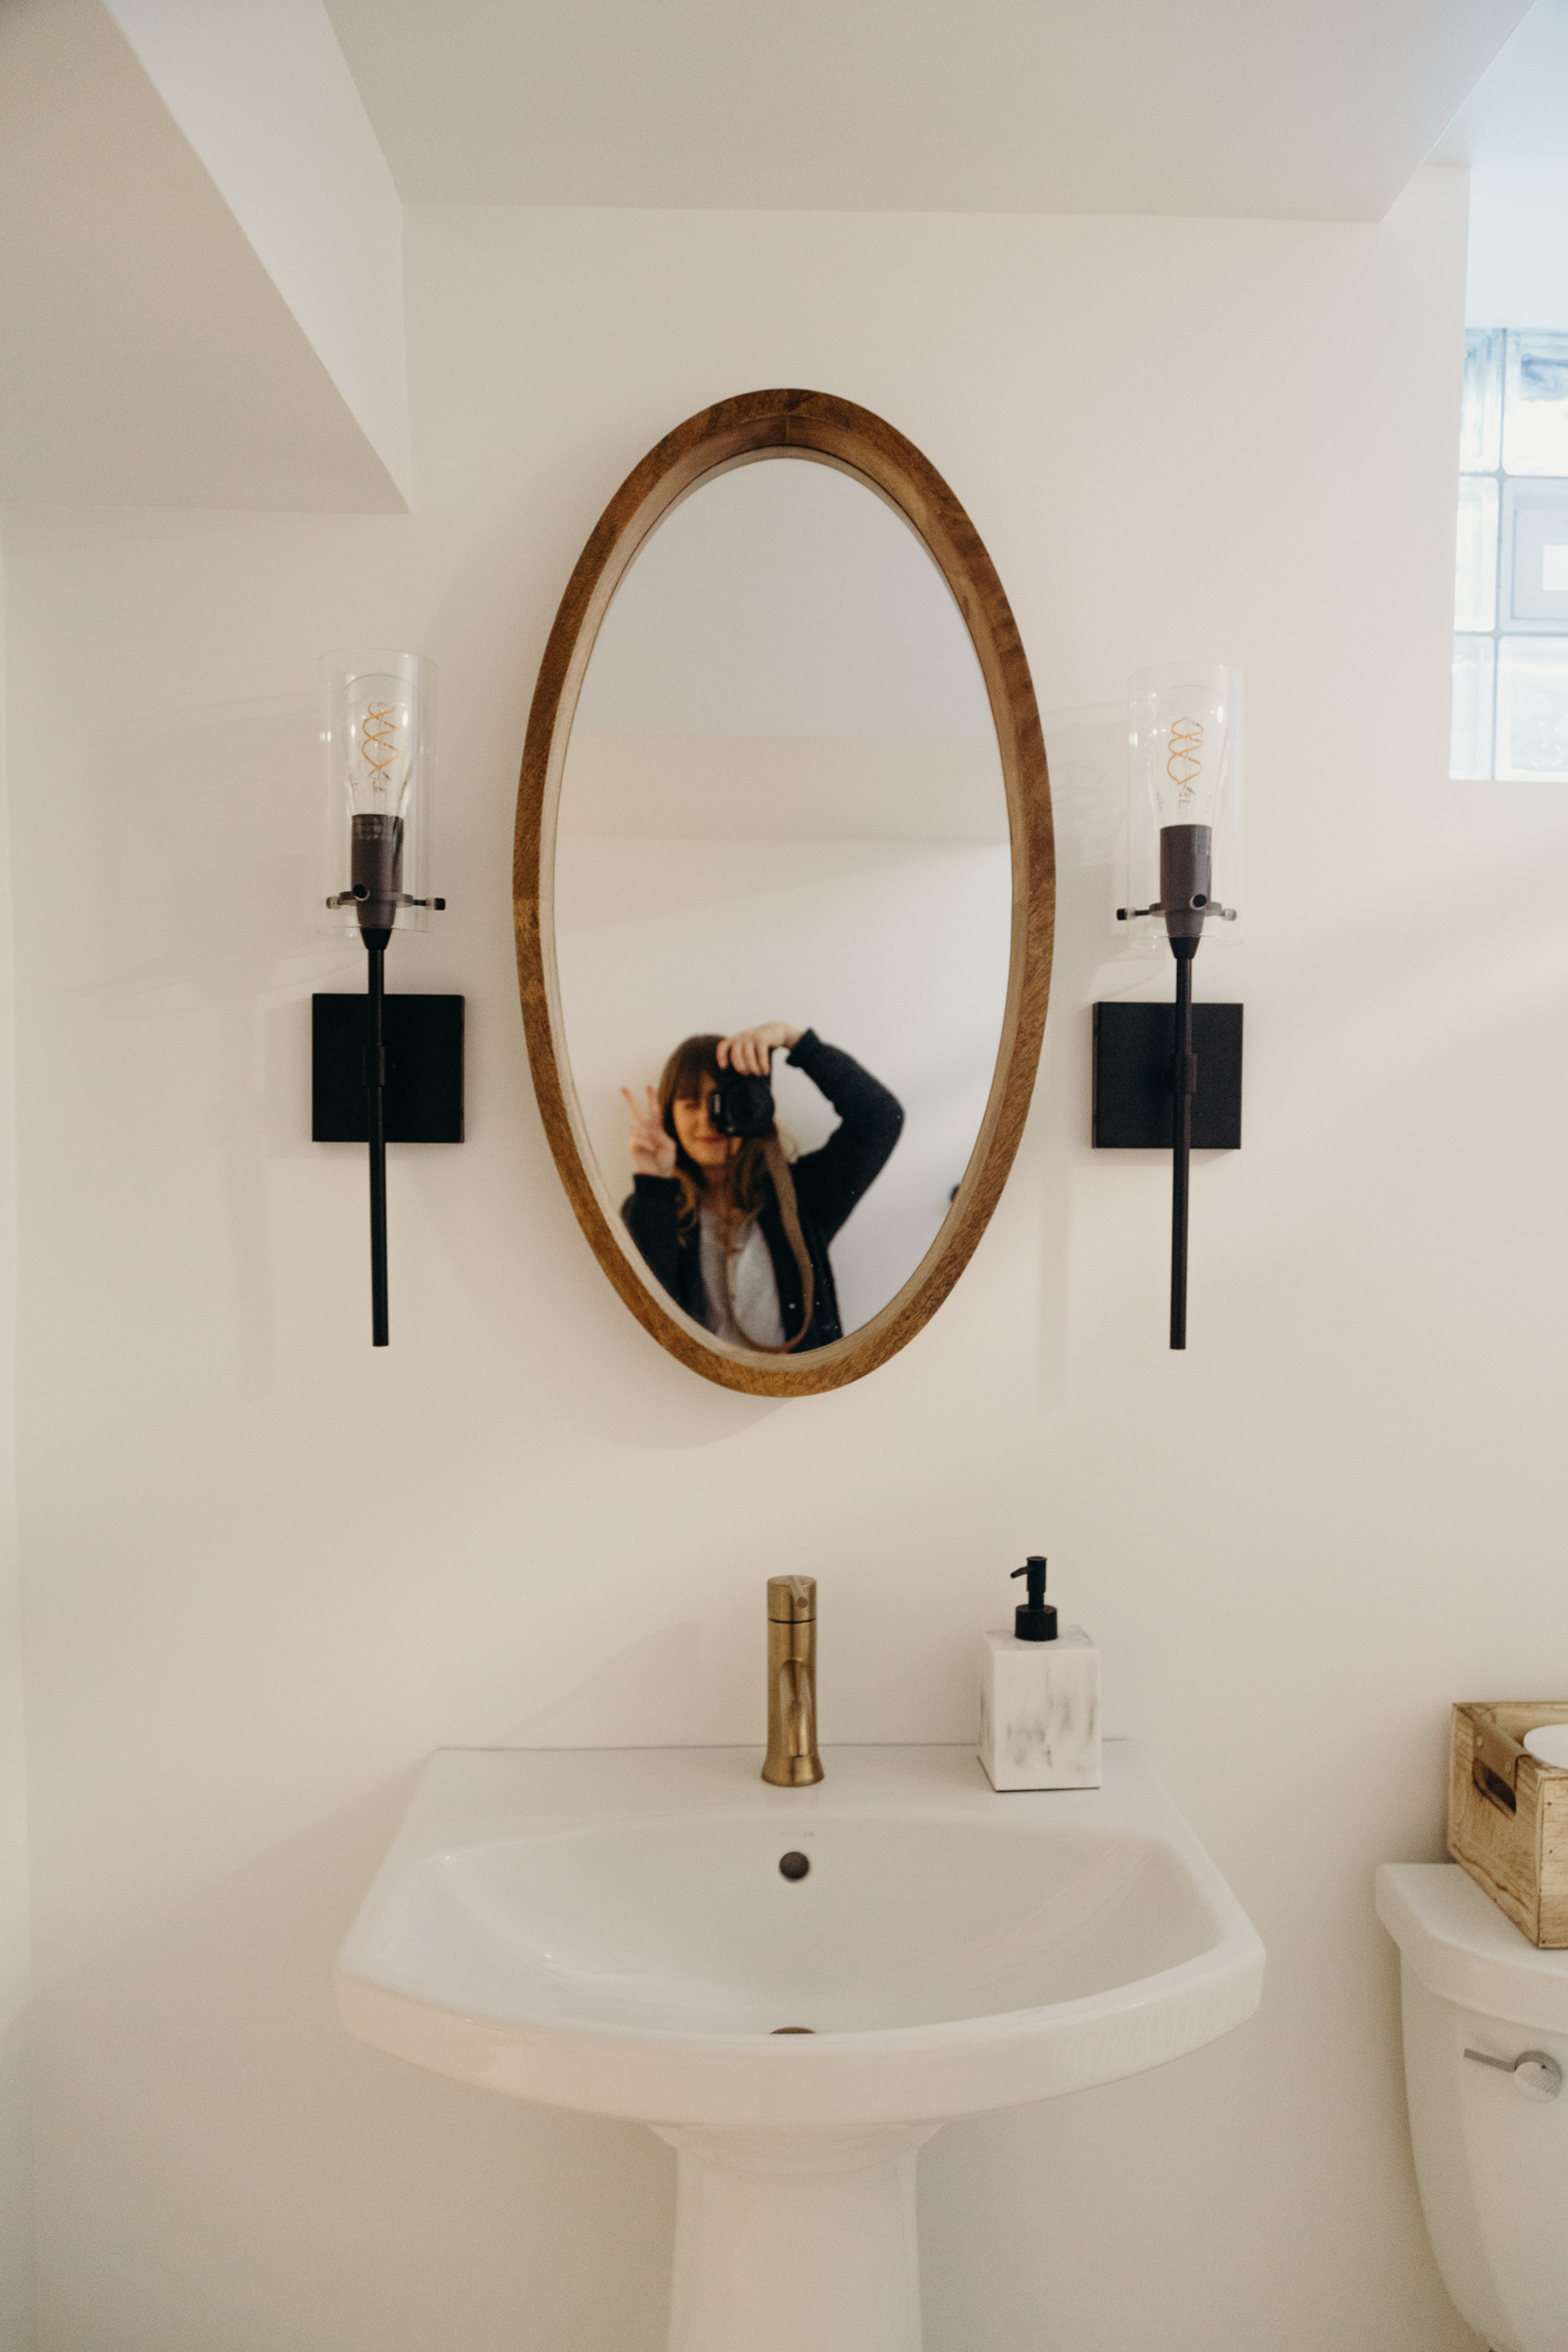
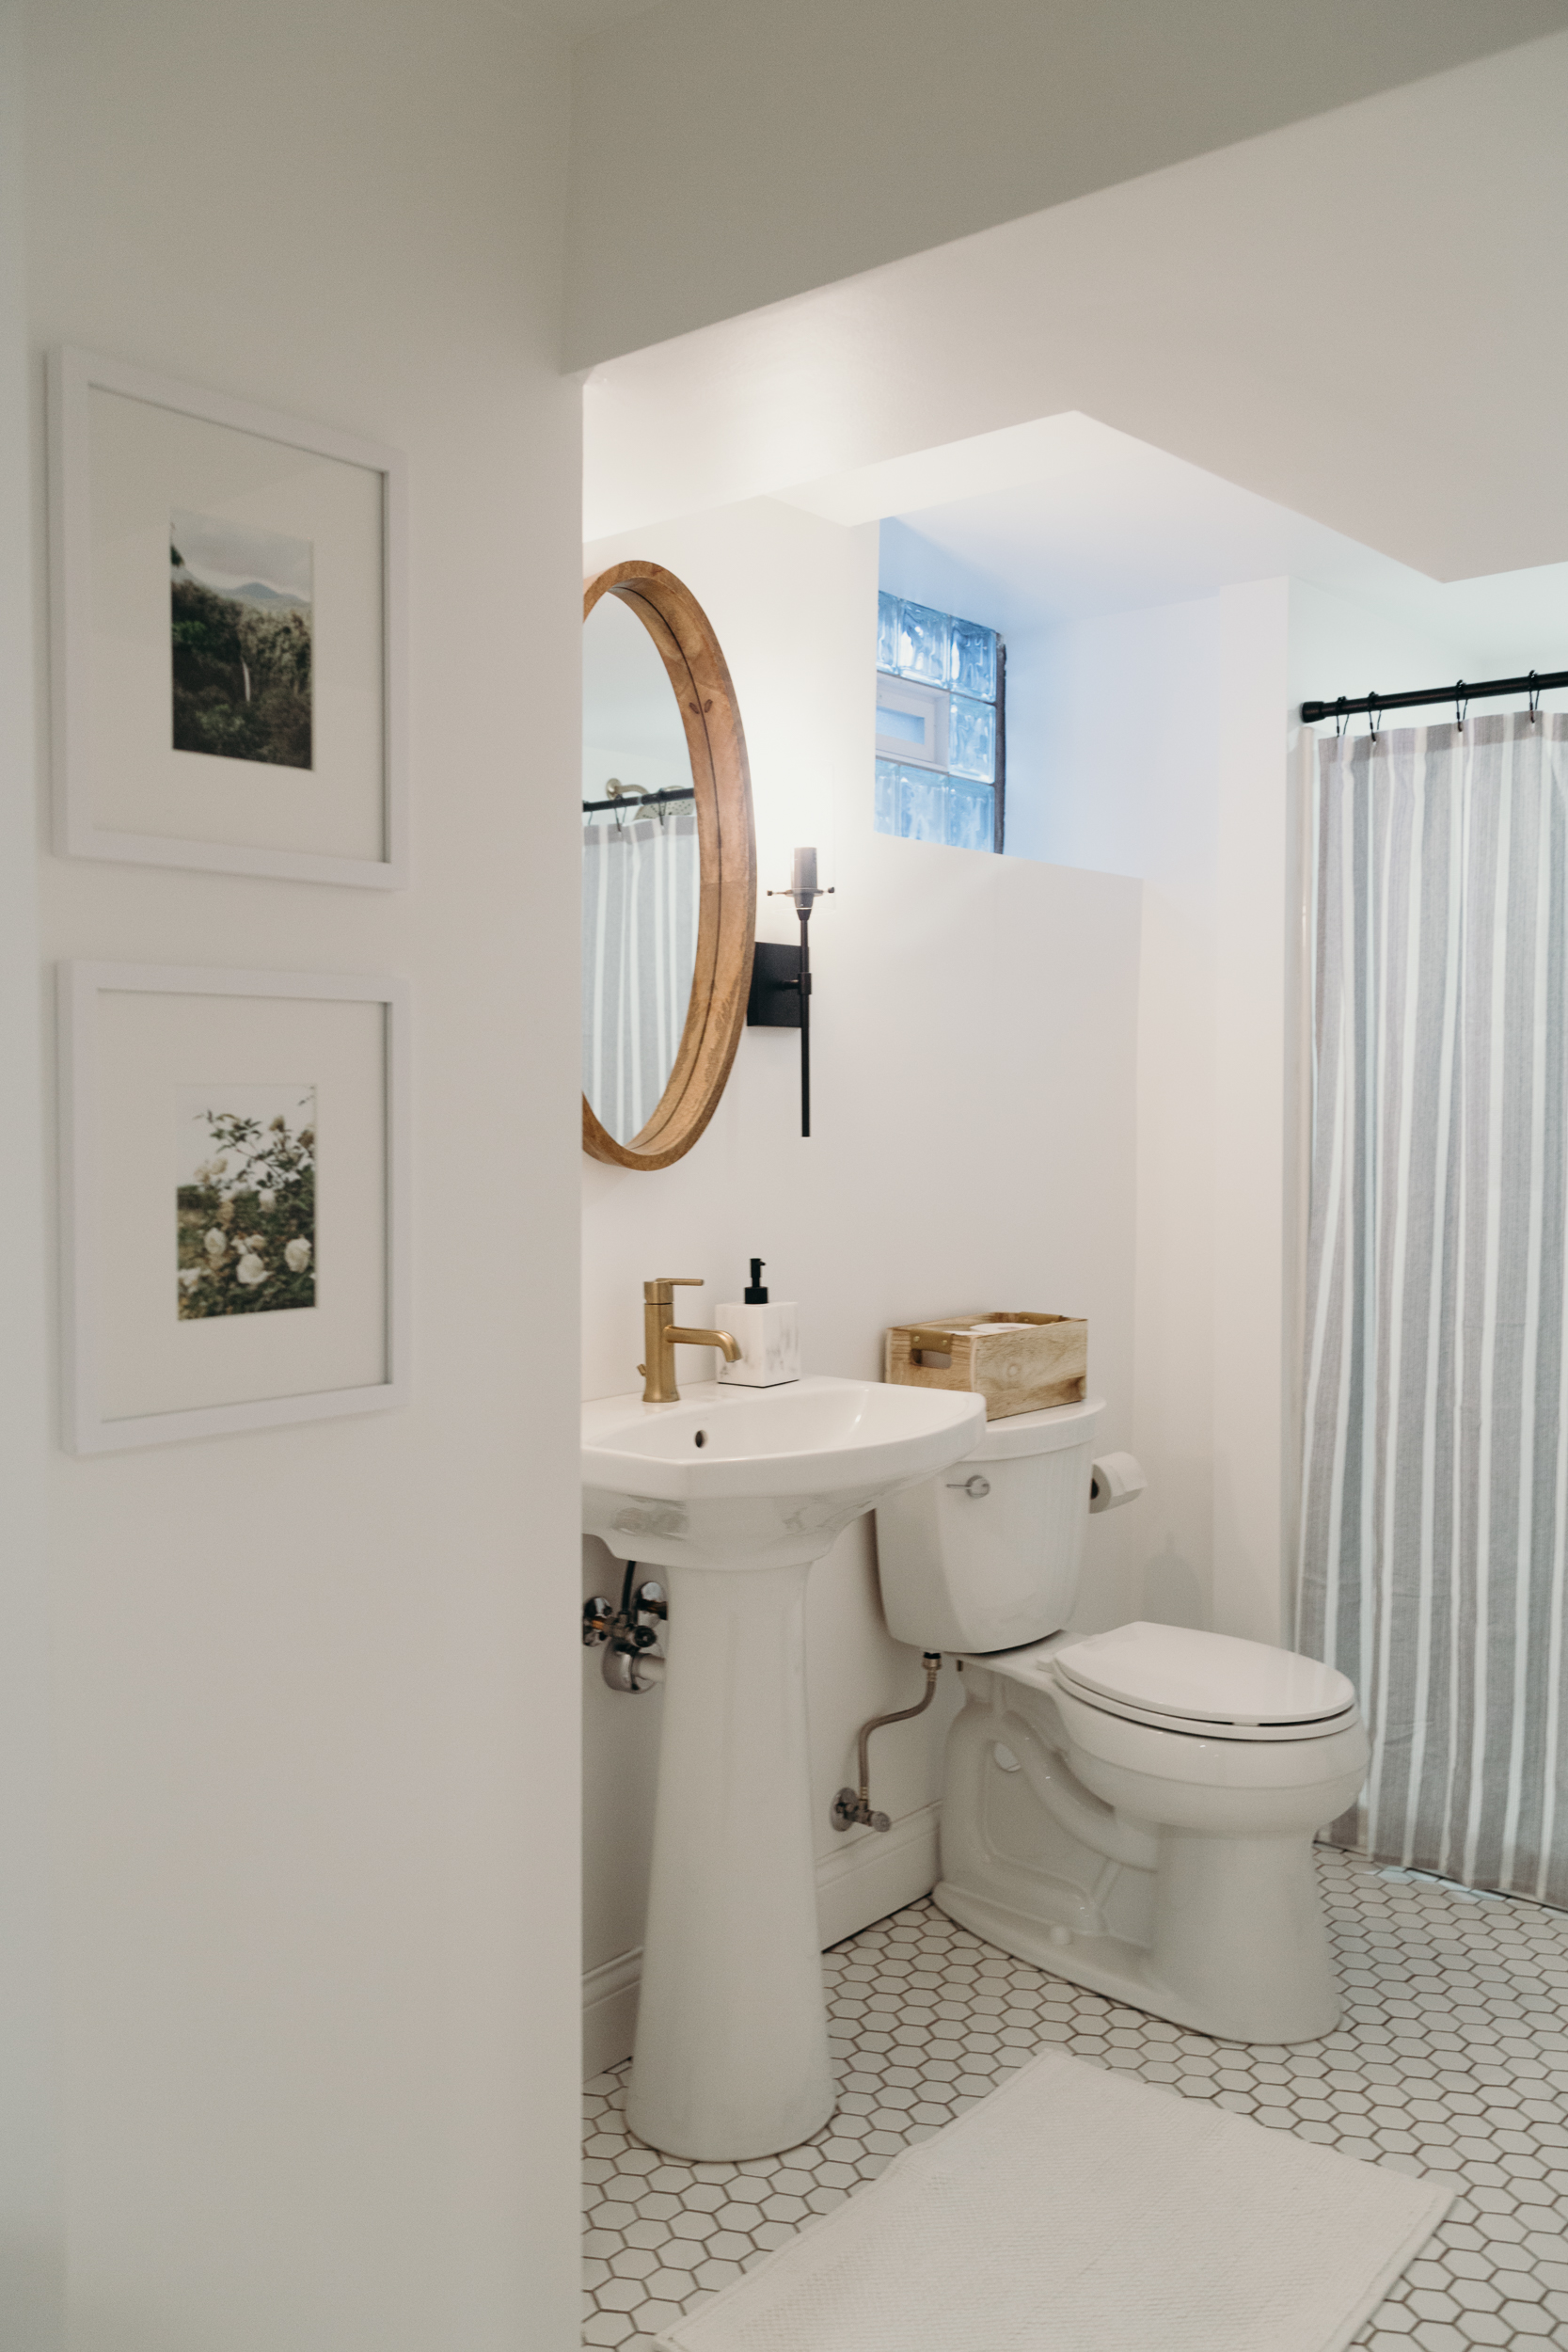 Besides doubling our living space after finishing off the basement, we added a second bathroom to our house, which is amazing! Despite not having a bedroom downstairs, we added a shower to the basement bathroom, which really come in handy when we get around to renovating our upstairs bathroom.
BASEMENT RENOVATION SOURCES:
[one_half padding=”0 50px 0 0″]
PAINT COLORS
Wall, ceiling and trim paint in “Chantilly Lace” by Benjamin Moore
Black cabinent paint in “Black Magic” by Sherwin Williams
LIVING ROOM FURNITURE & DECOR
Furniture:
Sectional Couch in Gray from Article
Ottoman from Article
Sofa from Ikea
9×12 rug from eSaleRugs
Black metal side table from Target (old)
Barn door DIY
Barn door hardware from Amazon
Wood stool from Ikea
Wood coffee table from Target (old), but here’s a similar option
TV console from Home Goods
White wood doors from Home Depot
Matte Black Door Knobs
Samsung TV
Decor:
Woven wall weave from Target
Wood wall frames from Target
White wall frames from Target
Pillows from Target, Home Goods, eBay and DIY
Beige and white throw from Home Goods
Blanket basket from Home Goods
[/one_half]
[one_half_last]
BAR AREA
Cabinets from Lowe’s
Countertop from Ikea
Metal shelf brackets from Etsy
Wood shelve DIY
Amber bottles from Home Goods
Gold clock from Target
Horns from trip to South Africa
Frame from Target
Faux cactus plant from Target
BATHROOM
Pedestal sink from Kohler
Toilet from Kohler
Brass sink faucet from Delta
Brass shower fixtures from Delta
Oval wood mirror from World Market
Black sconces from Amazon
Metal wall hanging from Target
Pottery vase from Target
Shower curtain from Target
White bathroom rug from Target
[/one_half_last]
[show_shopthepost_widget id=”3006275″]


Stunning!!! You guys did an amazing job. I never realized (until we bought our fixer upper) just how much hard work renovating from the studs up can be, and never imagined how rewarding it is when it’s all done. Our bathroom is the first project we tackled from studs and it’s not 100% finished but just nearly and man I’m so proud of ourselves. I appreciate the heart and soul and all the work that went into your basement more now than I ever could before owning a house, and your hard work is certainly beautiful!! <3 <3 <3 I love the theme/aesthetic you chose, too!
Thank you! It’s so true that once you attempt a diy home project yourself you can’t truly appreciate the work that goes into a remodel like that! Congrats on your new bathroom!
Gorgeous! It’s so light and bright you wouldn’t guess it’s a basement.
This turned out AMAZING!!!! I think it flows so well with what you guys have done upstairs, but still feels like its own unique space.
Lovely transformation! Definitely makes sense to “grow into your space”… Our basement just flooded so it’s timely to see what you have done. What kind of flooring did you use? Would prefer non-carpet, but not hardwood either. I was watching your video last night but then the screen turned black (probably something wrong with my tablet) so I apologize if you talked about it in your video.
Thanks! We waterproofed our basement ourselves for finishing using the SealOnce Basement System (http://waterproof.com/sealonce-diy-basement-waterproofing-system/). It’s a do-it-yourself channel that my grandfather actually invented many decades ago! I actually have a lot of background knowledge in basement waterproofing, so I’d highly recommend waterproofing your basement before you finish, especially if you’ve had flooding issues! It’s easy to install and has been working great for the past year. As for flooring, we ordered bunch of different samples online, but settled on the Life Proof brand of vinyl plank flooring from Home Depot and have been really happy with it. It has a rubber backing and the “wood” side is vinyl making it pretty indestructible! It was really easy to put in (take us a weekend) and it’s cozy under your feet despite being directly on the concrete basement floor. Hope that answers your questions!
Love love love!. I can’t find the article on your kitchen….. need to get those details!
Thanks
Do you by chance have a link or exact name of your rug? I have been searching for one and I love it!
Hi kitty
Just a wondering how you transitioned the hexagon tiles into the wood flooring so senselessly
Honestly, it was just trial an error. What I did was cut down the wood plank so there wouldn’t be a seem between the planks with the wood. Then I used a piece of paper that was long enough to cover all the tiles (I had to tape a few pieces together). With a pencil I shaded over the paper to reveal where the tile edges were. Then, I cut out the “tile-side” to make my template for the wood. I transferred the lines to the right place on the vinyl plank and then cut it out with a the jig-saw. Test fit it after the first cut and had to make a few more cuts to make the vinyl plank to get it to fit evenly, then installed the vinyl plank like normal. Using a caulk that matched our grout we caulked the seem between the tile and vinyl plank. Hope that helps! I’m not expert but we did make it work that way and it was fairly easy, just needed some patience and attention to detail!
What an incredible job remodeling! Looks so fresh and new! Do you know the make or brand of the door knobs you installed? Thank you!
Such a random question but I am wondering this too. We’re remodeling our home and having to pick out doorknobs and we want the black/rubbed bronze look. I never thought picking out doorknobs would cause me so much stress, lol. Can you share what knobs yours are and if you recommend them?
It is super hard to find true matte black door knobs that don’t cost a fortune. I found them on amazon: http://bit.ly/2KIMJYt
I am also interested in the name of that lovely rug! 💗
Fantastic space! I would also love to know the name of the rug – it’s a perfect choice.
Sorry, I think the rug is sold out!
Lovely this house basement renovation,Keep posting.
Hi there! Love your basement remodel! We are in the process of remodeling our basement.
My question is what is the color of your Lifeproof floor? Is it Fresh Oak? I want to keep our space light and bright like yours.
Thank you so much!
Thanks! We went with Essential Oak.
I love the finished product! It is so open and light feeling even though it’s a basement. I am definitely saving these pictures as inspiration for my basement renovation that’s in the works. I actually found your blog after searching for flooring ideas in basements, and I instantly fell in love with the vinyl planks from Homedepot! I wanted to ask a few questions on your install process, how well do the seems between the planks stay together? Did you experience any waving over the concrete? And I have read that over a certain square feet, it’s recommended to have a another starting/stopping place in the room besides the walls, to prevent shifting. Did you do anything like this? Thank you for all the help! PS – after finding your blog, I’ve also been watching your YouTube videos, and I love everything you do! Vegan recipes, natural beauty, minimalism and the home stuff. You’re awesome.
Thanks!! We are still loving our floors downstairs. They are literally ‘lifeproof’ like they’re named. We only had on issue with a seam not being tight near our fireplace, but other then that they all locked up together really well and there is no gapping. We had a fairly uneven floor, especially on the side where our bar area is and the install was still really easy and we didn’t have any issues. We did use spacers all the way around the walls for the planks to have a little wiggle room like they suggested in the installation. Hope that helps answer some of your questions!
I just love your style, Kitty! Can you tell me what color grout you used with the 2×2 hex?
Sorry, another question for you! Did you just drywall the niche in the bathroom or did you have to frame it out with wood first?
Hi there. can you tell me how you cleaned the drywall dust off the walls? Also what did you use for a primer? Thanks!
We used a flat mop with a microfiber cloth on it like this one: http://bit.ly/2oZysxv We didn’t use a primer, just went right in with the paint. We use Benjamin Moore paint. Hope that helps!
It doesn’t even seem like a basement. So professionally you guys have done it. Great efforts appreciate your work :)
Thank you!
Really nice job!! Amazing!! It feels so bright, doesn’t feel like a basement. Can you tell me what kind of lighting fixtures you have used on the ceiling? Thanks for sharing all your beautiful projects!
An amazing basement transformation, thanks for sharing your work.
Great read. Thank you for sharing this informative and useful post. You nailed it. Good job.
What an amazing room!! We’re thinking of doing something similar in our basement…
Can I ask, what paint finish did you use on the walls and ceiling? It looks like the ceiling is a bit shinier than the walls? Love the look. Thanks in advance!!
We used a pearl/eggshell finish on all the walls and ceiling
Hey! I think you did an amazing job. I absolutley love it. I am currently debating between chantilly lace and simply white and I simply can’t decide. How is chantilly lace? It looks amazing in your photos but do you ever feel that it’s too stark or anything? I am having trouble deciding… I want to love chantilly lace because it looks great on everyone else’s space but could it possibly look stark or is it like a fool proof color that could look good in any space? I have a south facing condo with floor to ceiling windows, so I get lots of sunlight all day. And I am planning on getting a tan leather couch… Could the couch warm up the chantilly lace walls? or will it just make the walls look stark? I would appreciate your thoughts on this! :)
Best way to tell if its the right color is swatch it on the wall! We went with a Chantilly Lace in our basement after swatching both colors you mentioned. Simply White was too yellow/warm for the this specific space. The crisp white of Chantilly Lace was best. Often rooms that get a lot of natural light can benefit from a warmer toned white. Hope that helps!
Hey, please tell me what lighting you used and is it 4000k 5000k? looks really really good!!!!!